The Bookbinding Process
Over 150 hours of actual bench time go into each designer binding. And that’s not including the reading and thinking! There are a huge number of different processes involved and they require a vast array of skills. At college we were taught that a bookbinder had to be more accurate than a brain surgeon, working to quarter millimetre accuracy. Bookbinding comes with its own language as well. Hopefully these images will go some way to explaining some of the processes and terminology.


1) Folding paper to make sections

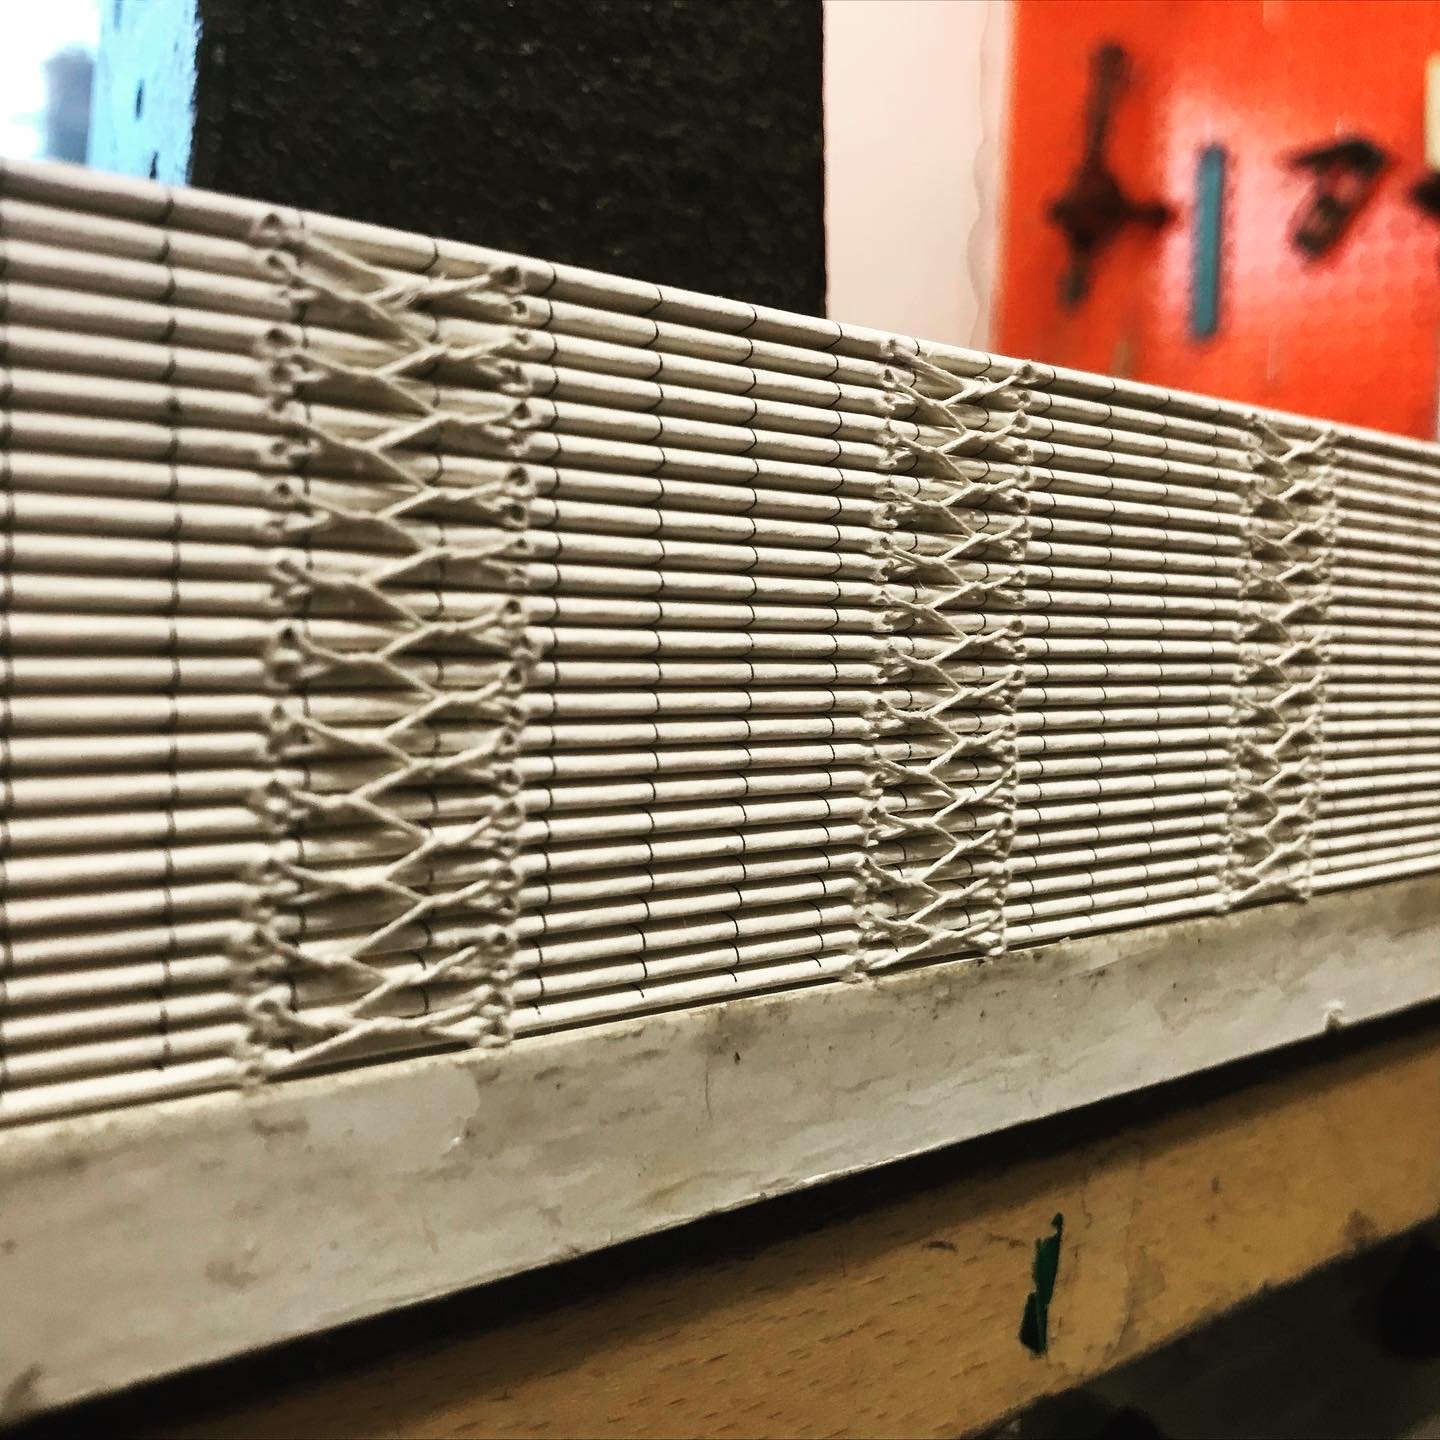
2) Sewing sections using linen thread
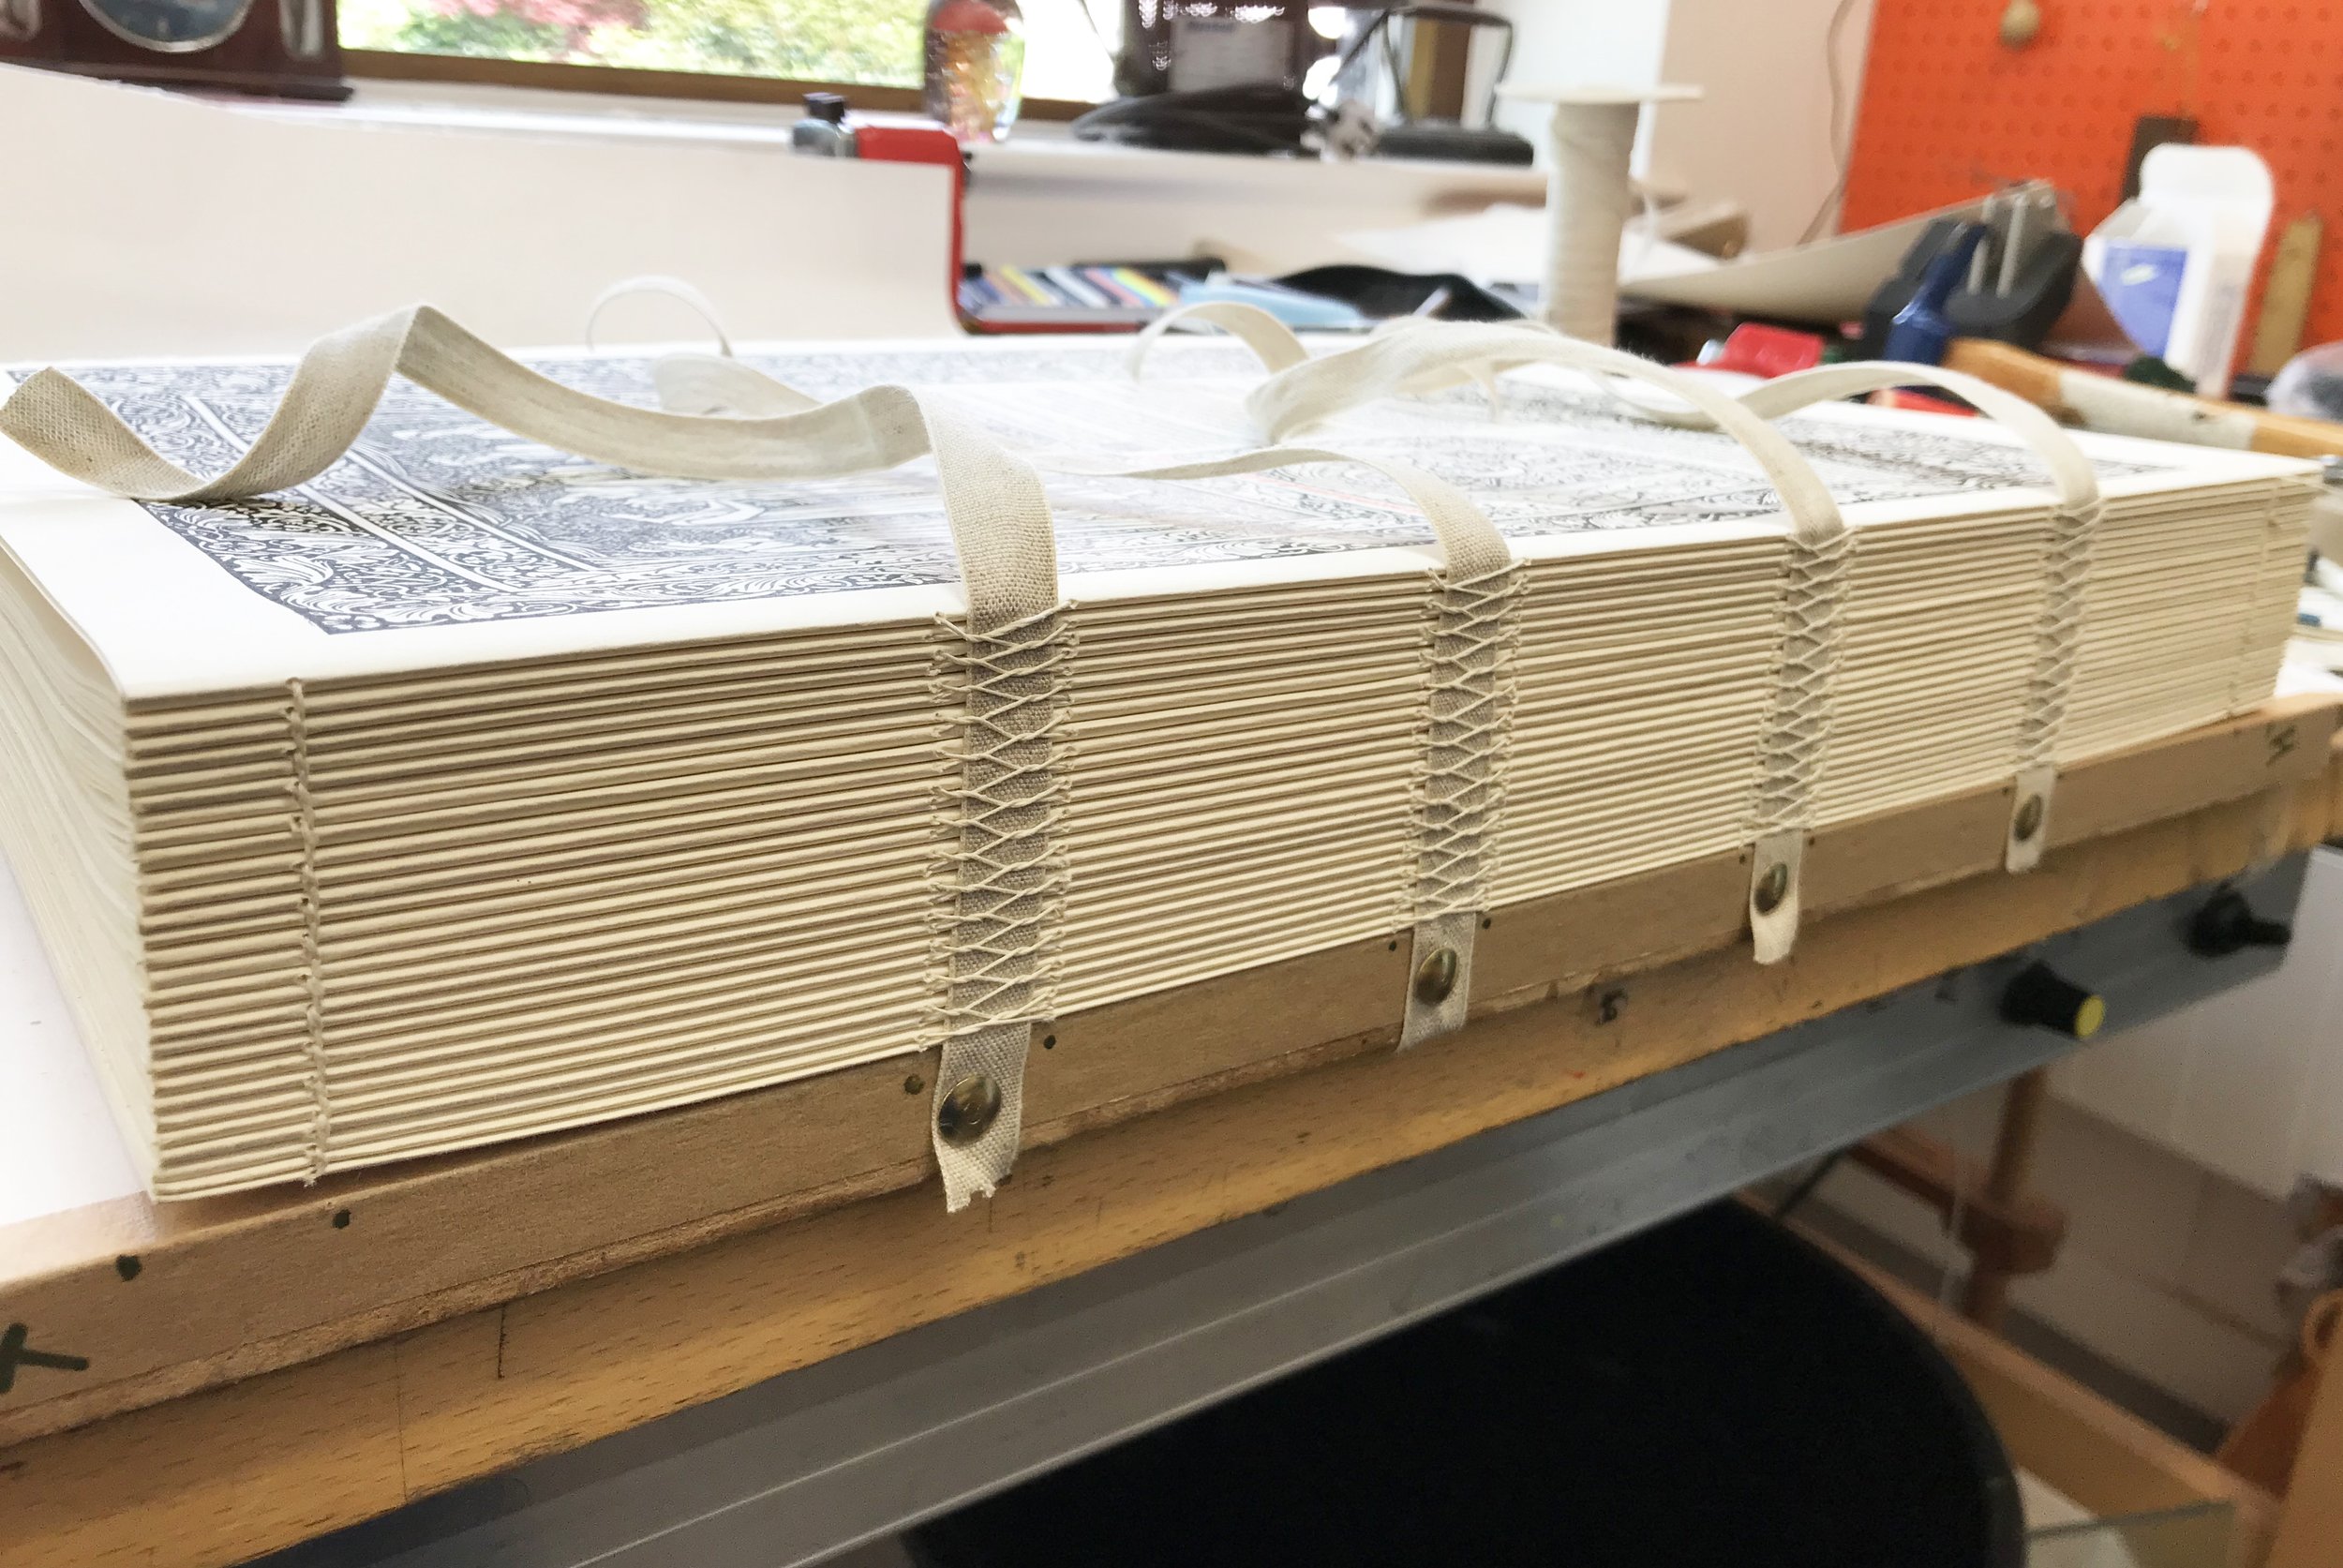
3) Bookblock sewn on linen tapes

4) Rounding the bookblock
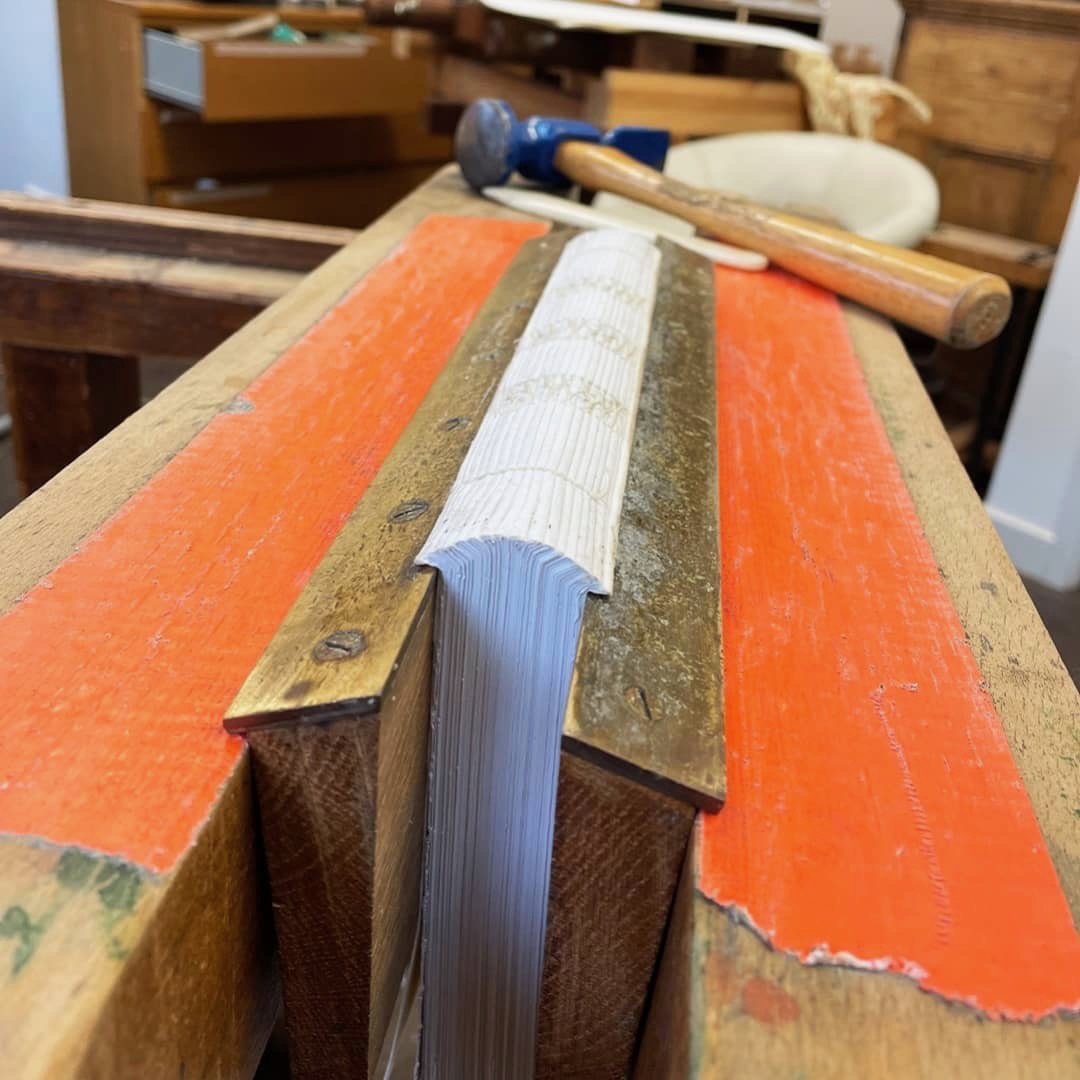
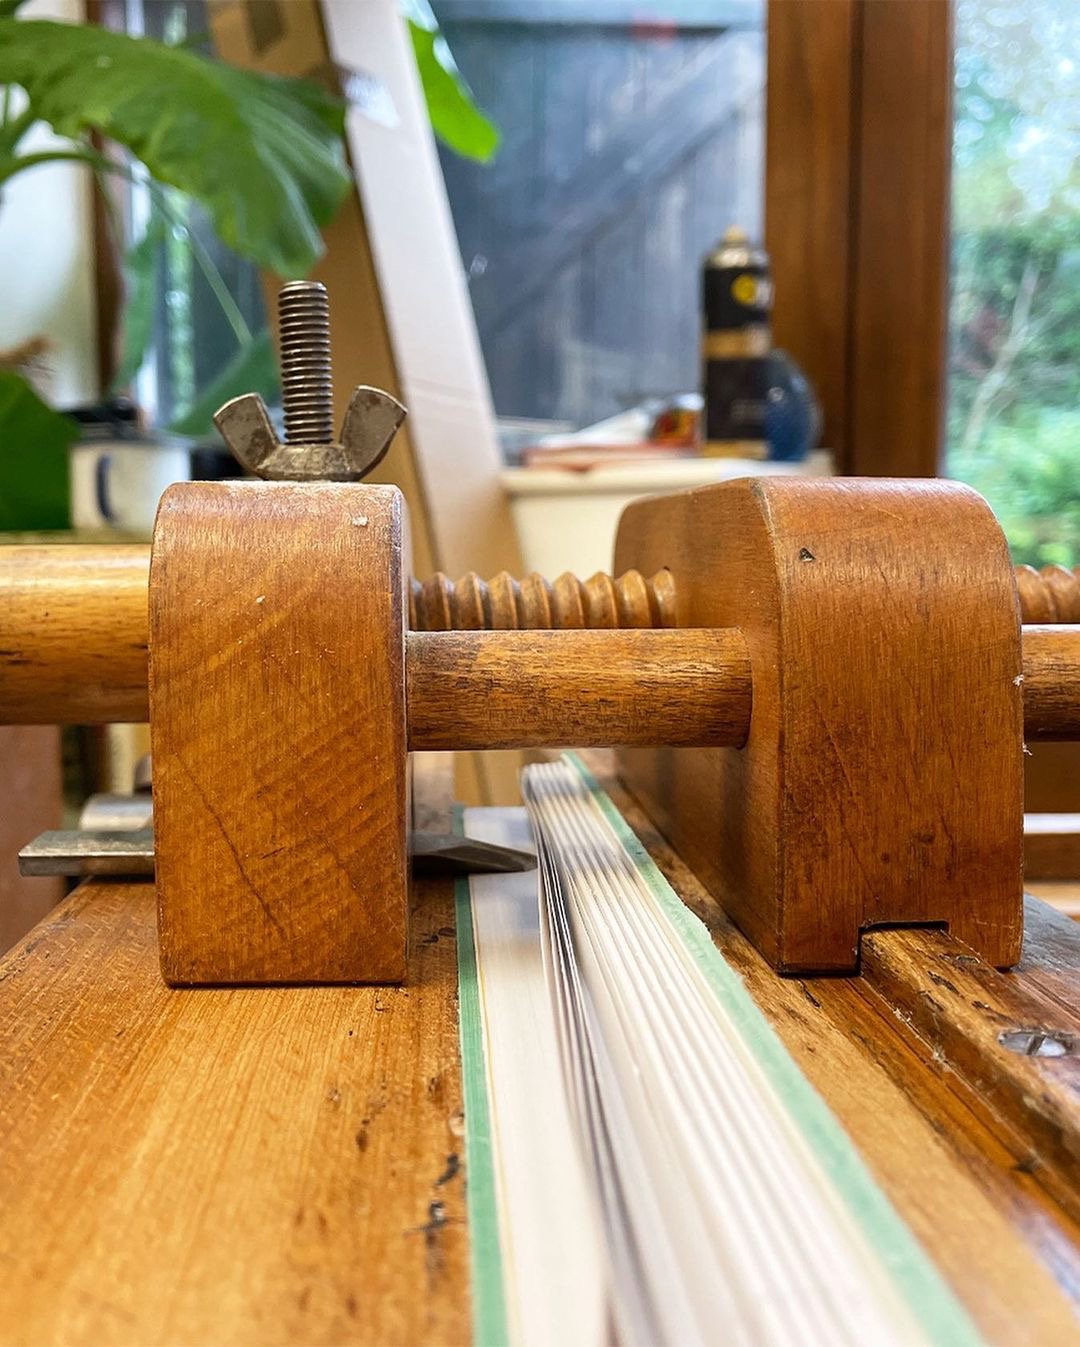
5) Backed bookblock in laying press

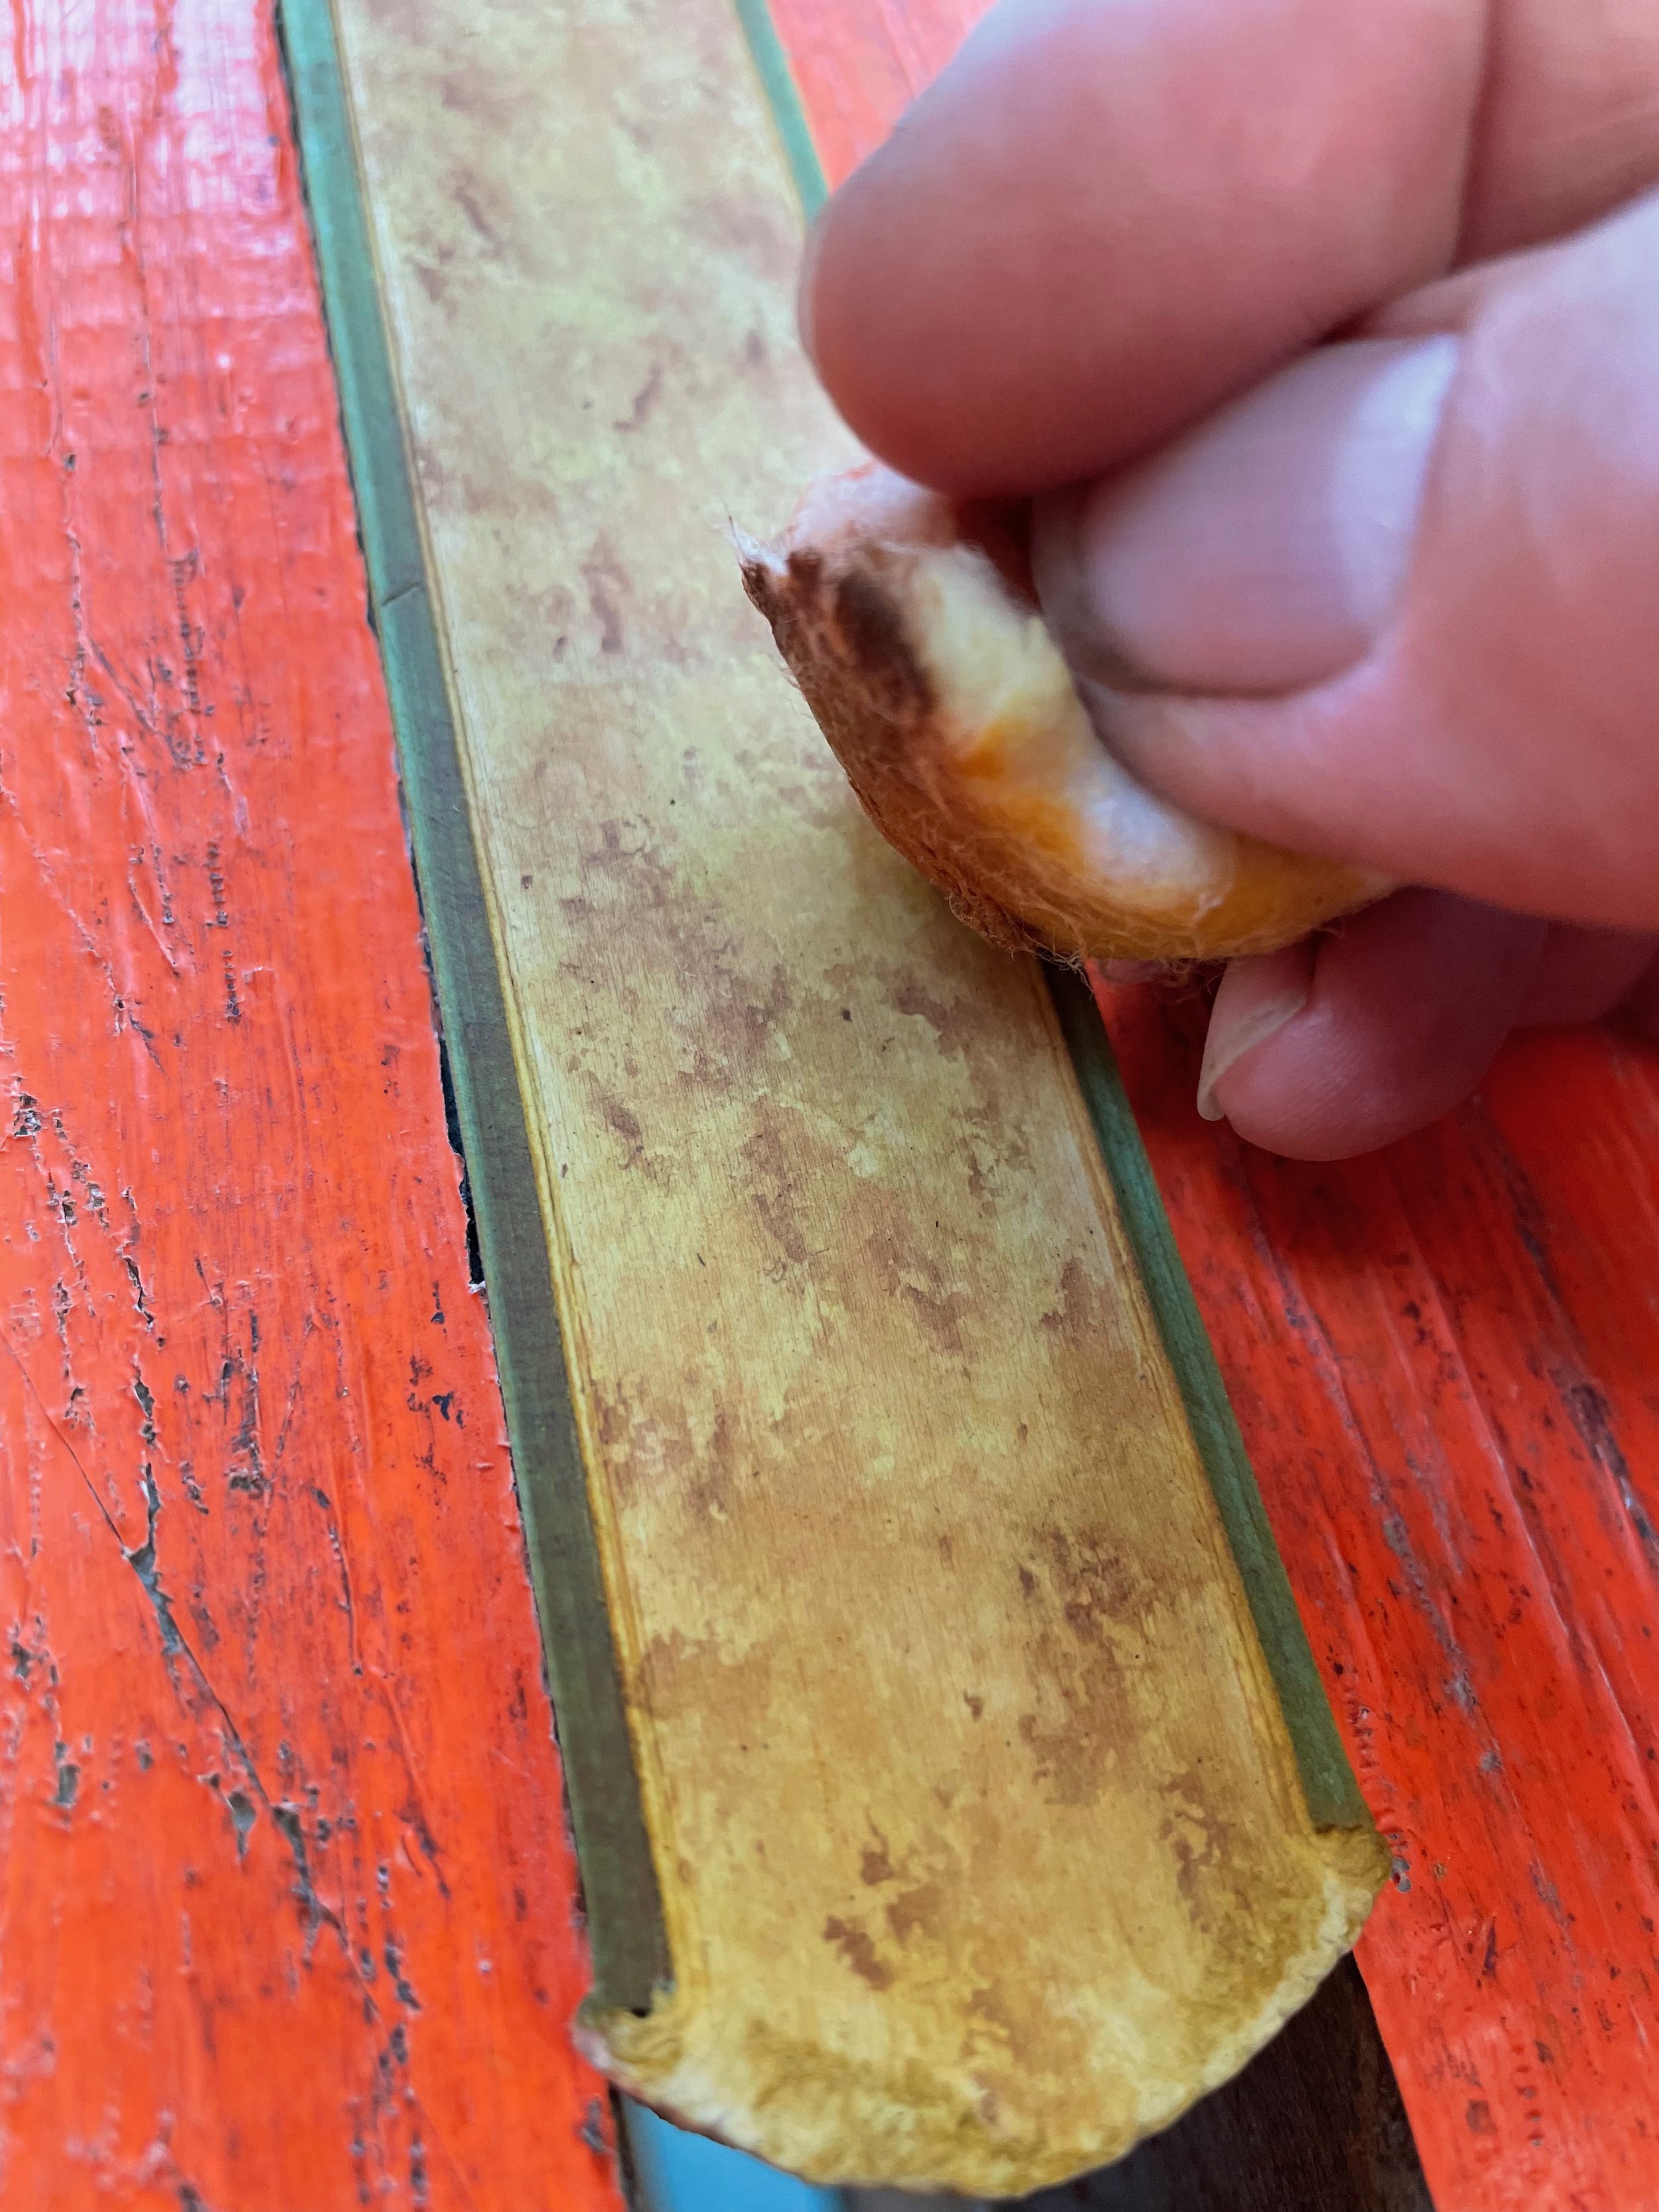
6) Smoothing the spine with a frottoir
7) Trimming the foredge with a traditional plough
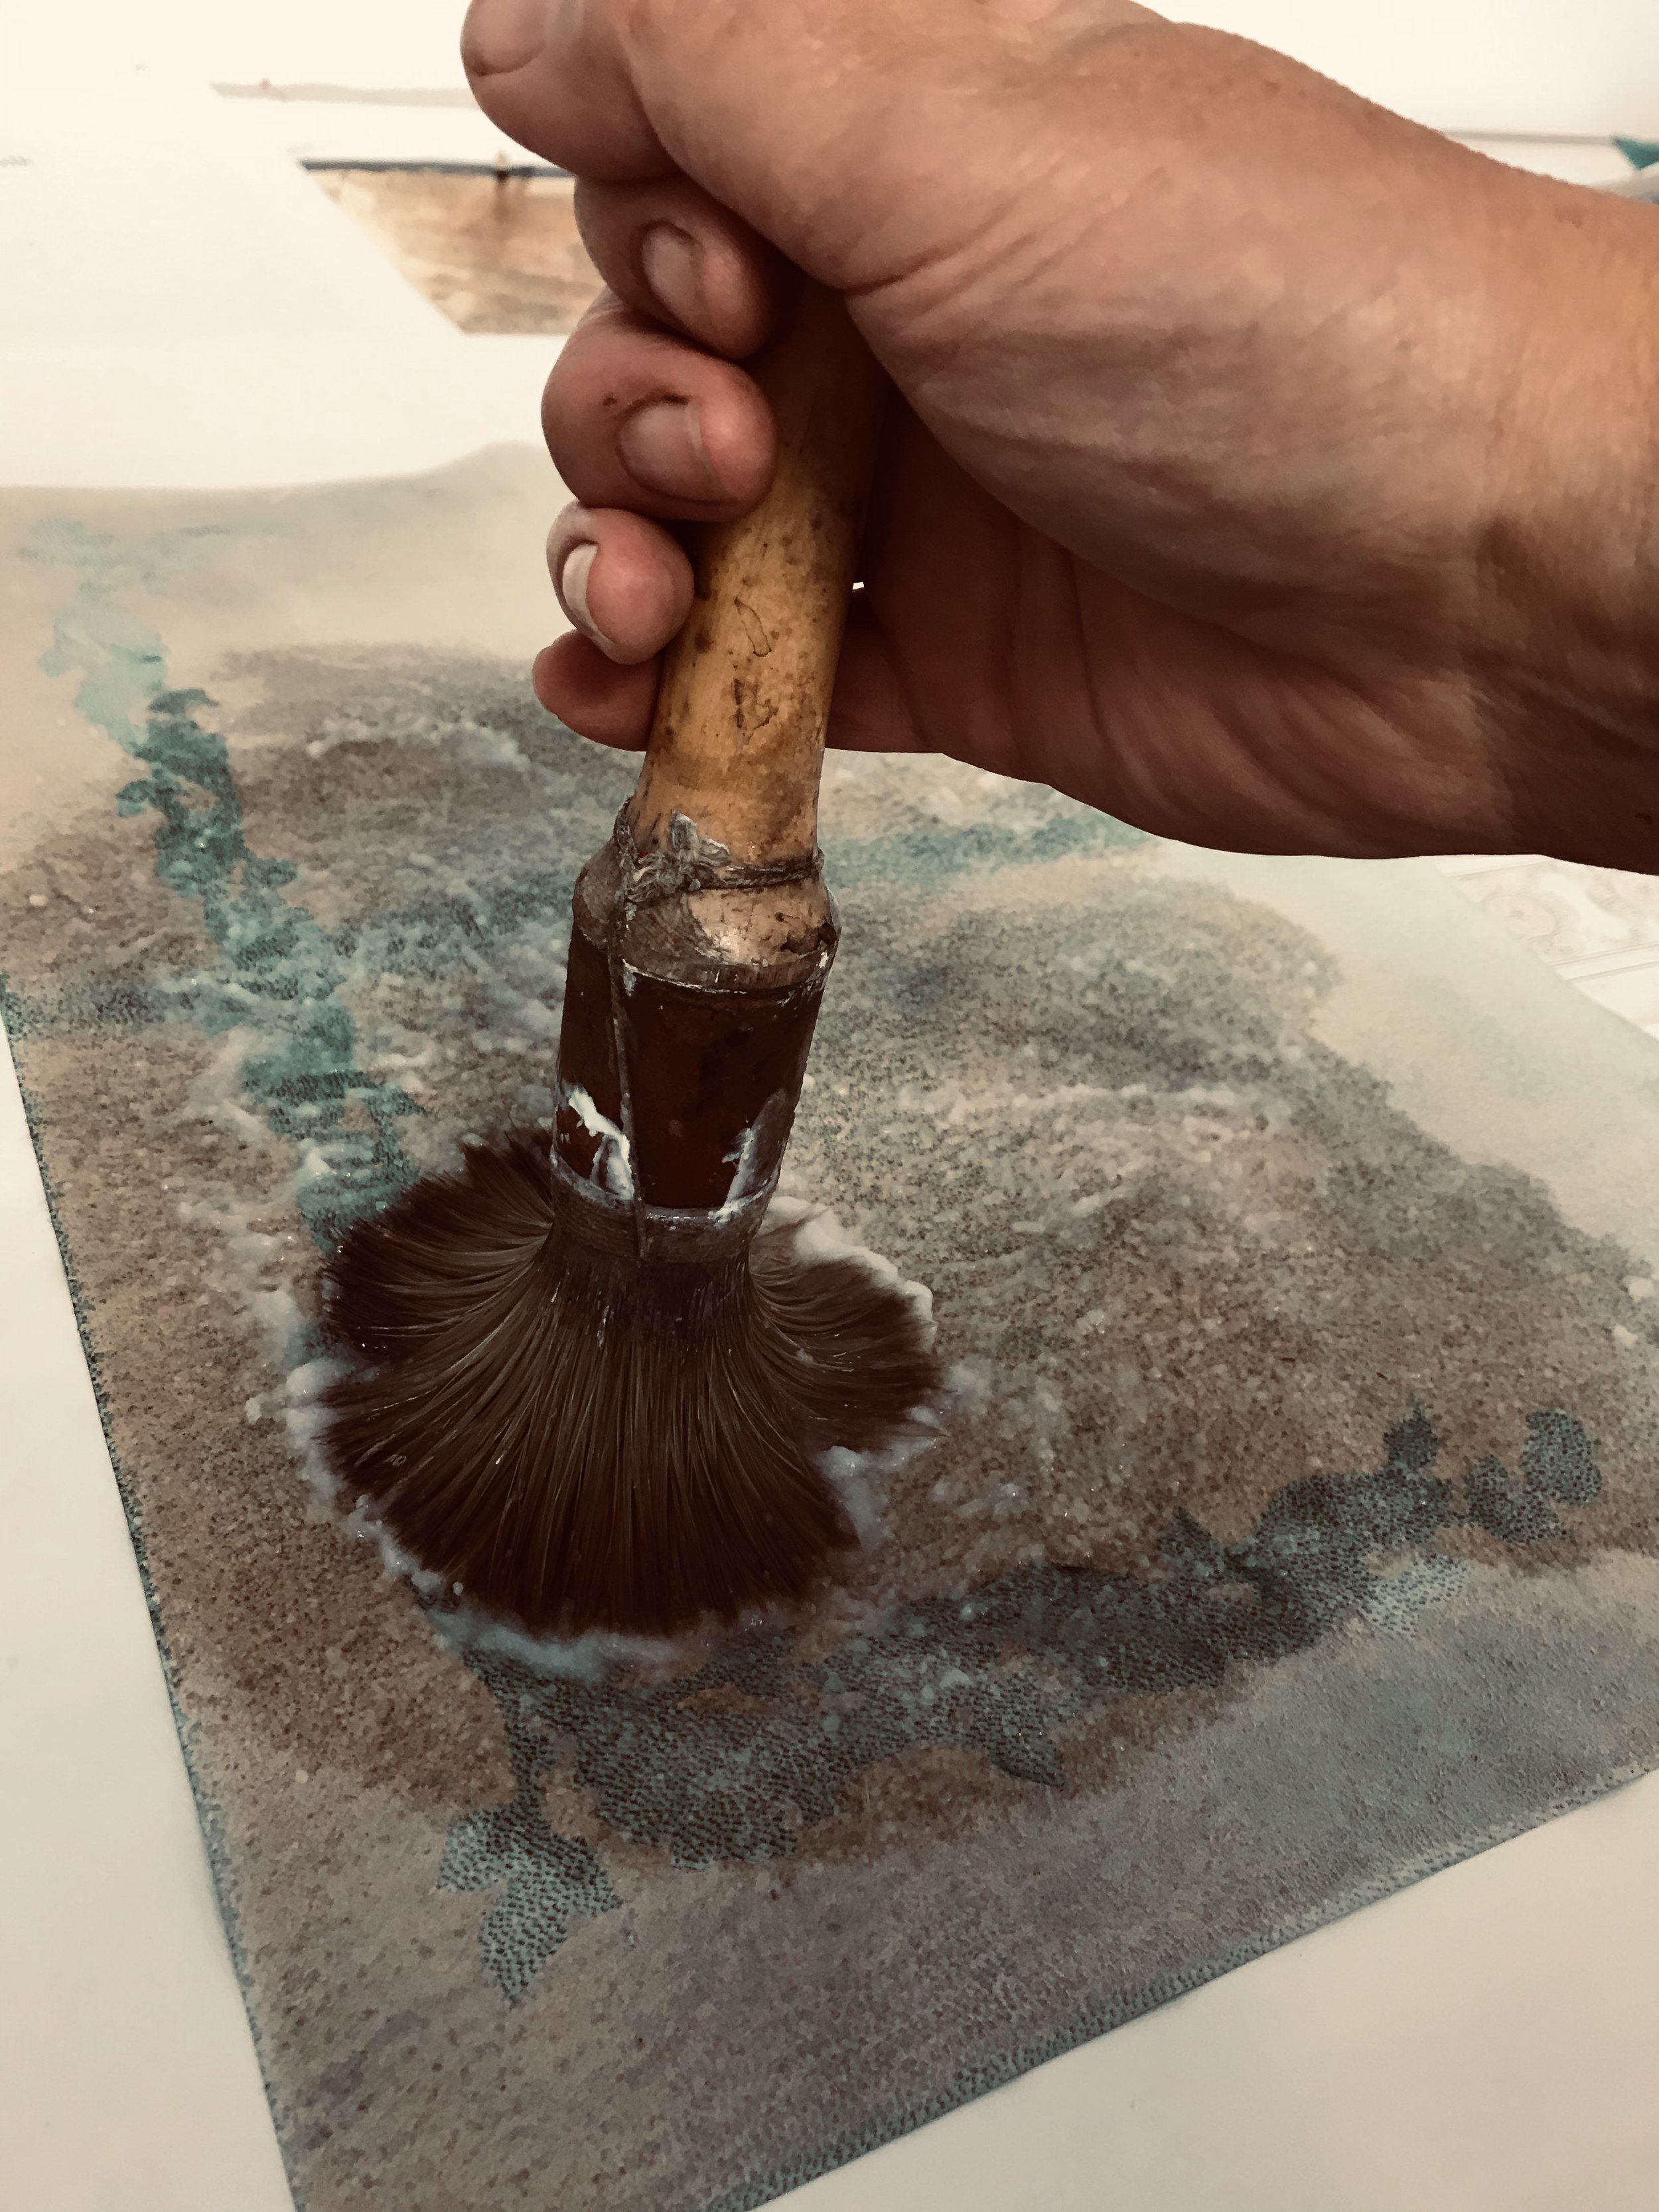
8) Sponging on watercolour for edge decoration
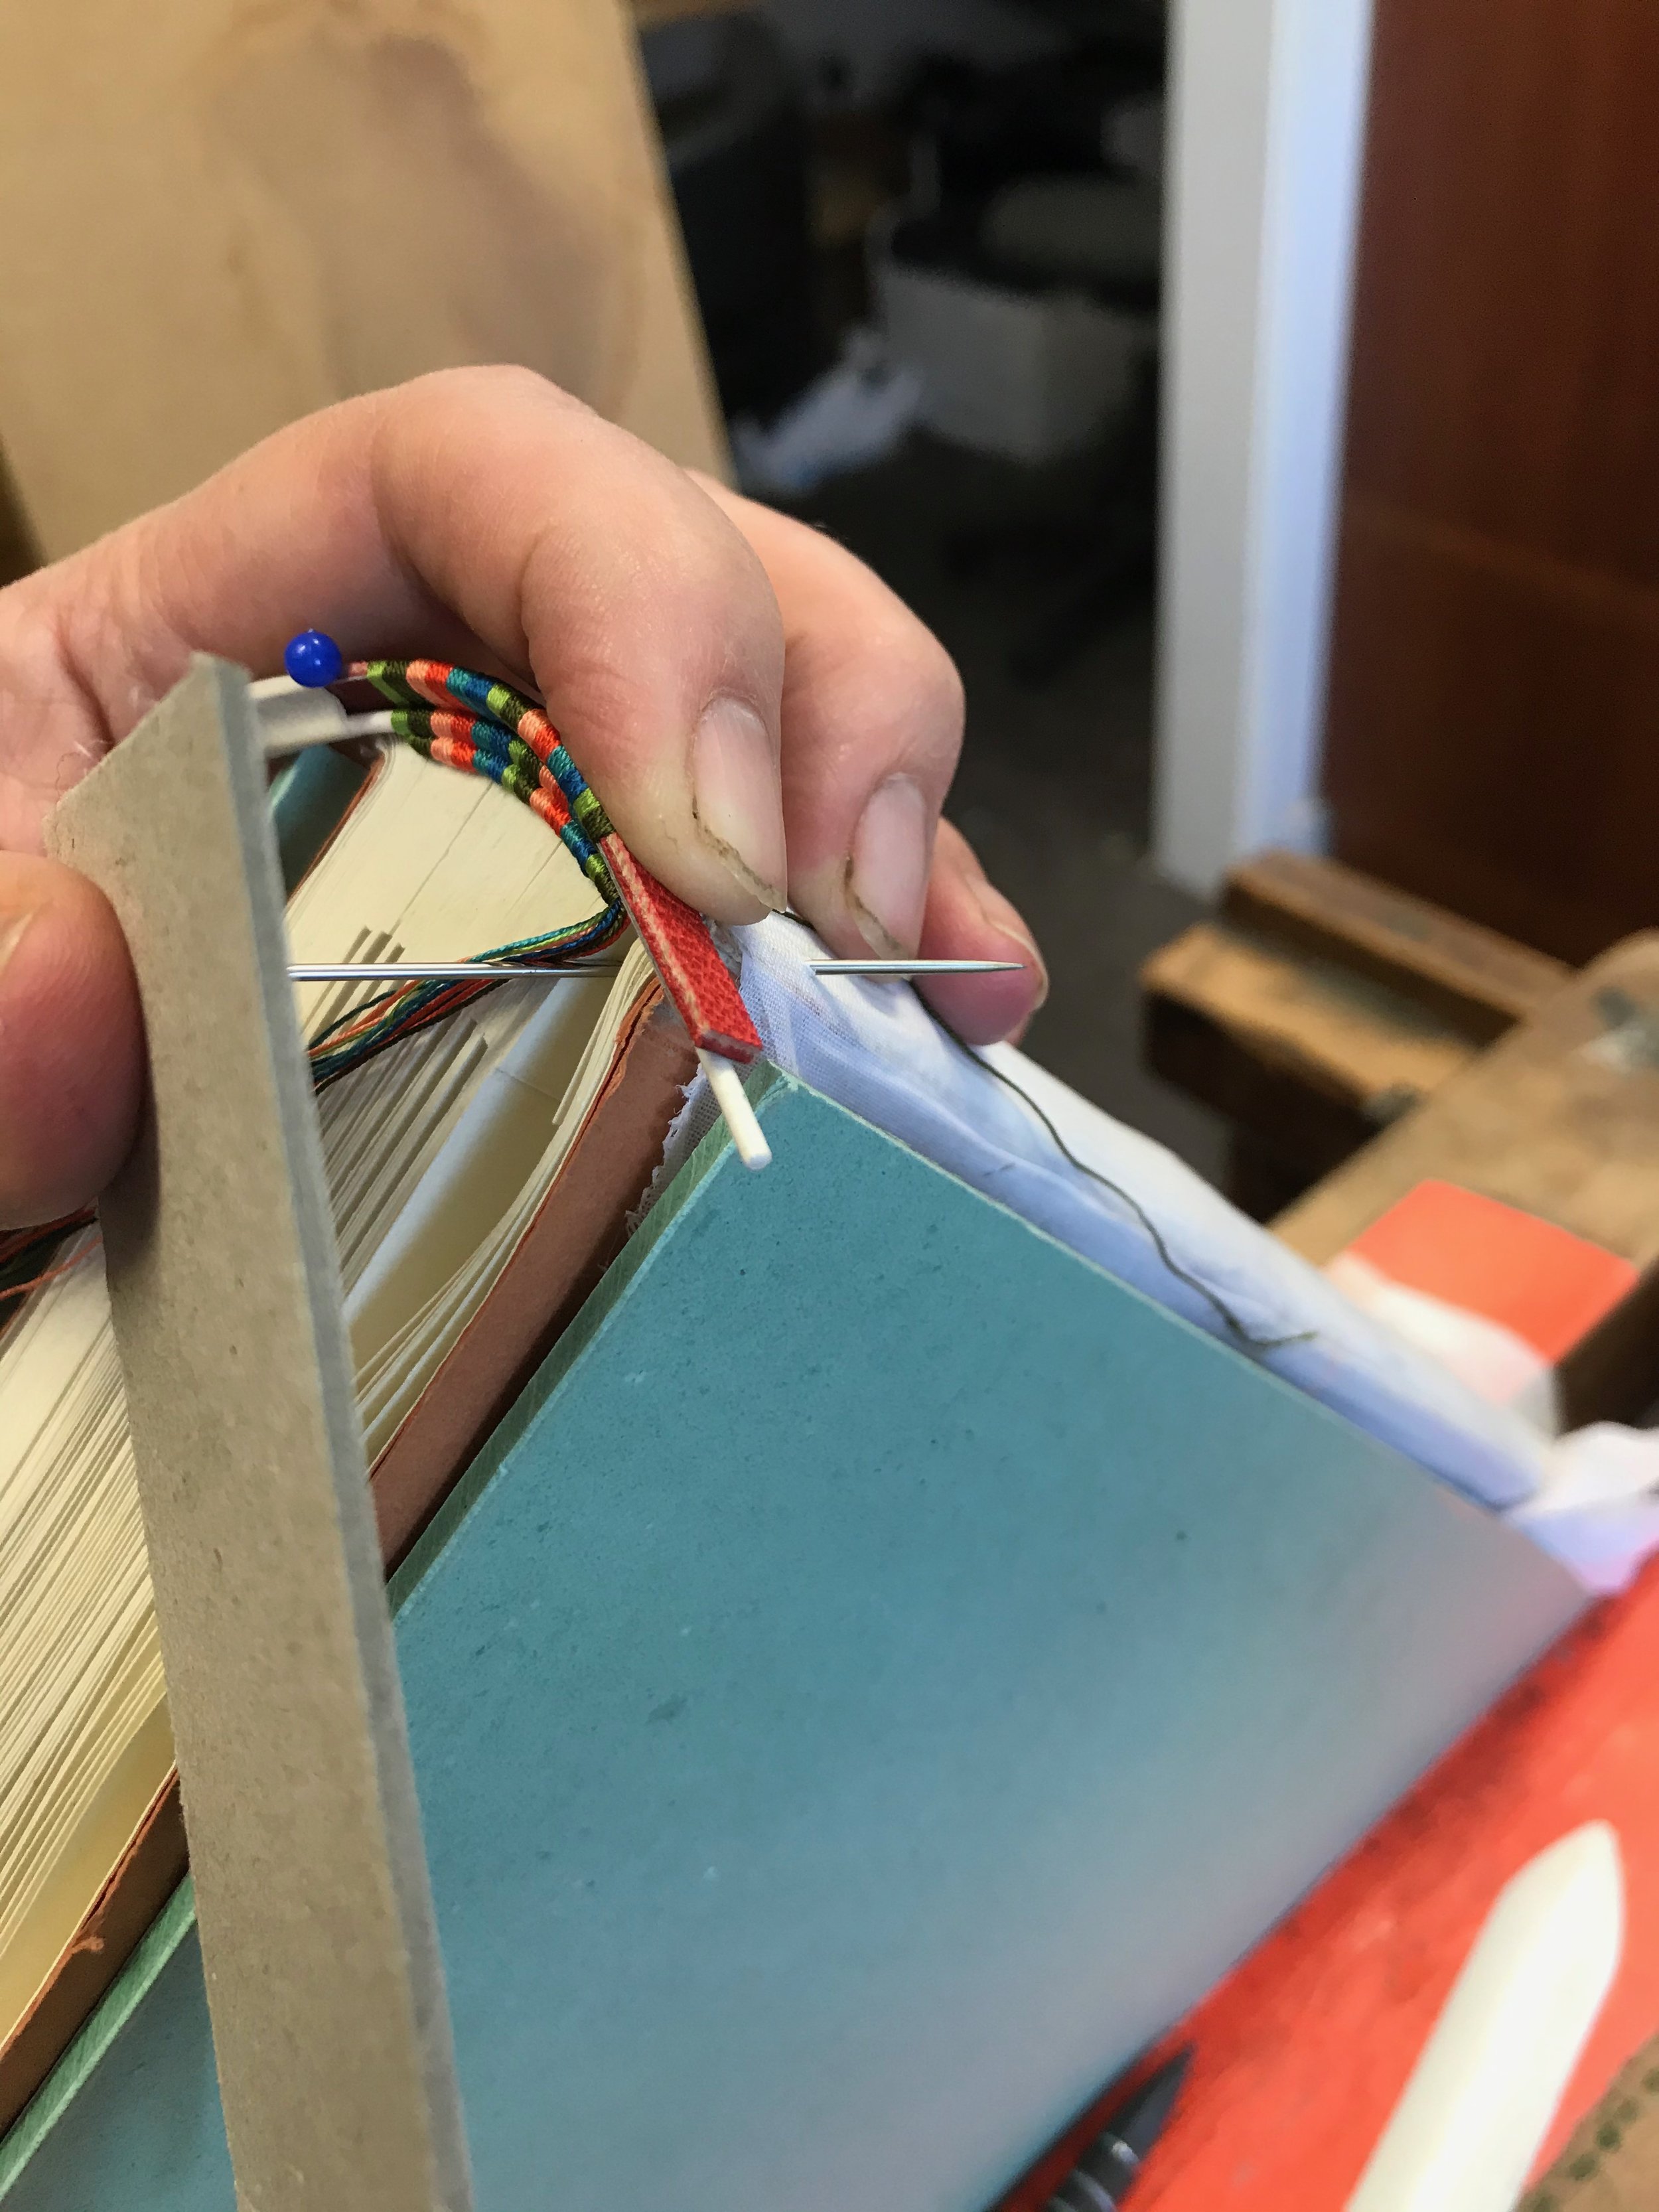
9) Sewing an endband with silk threads
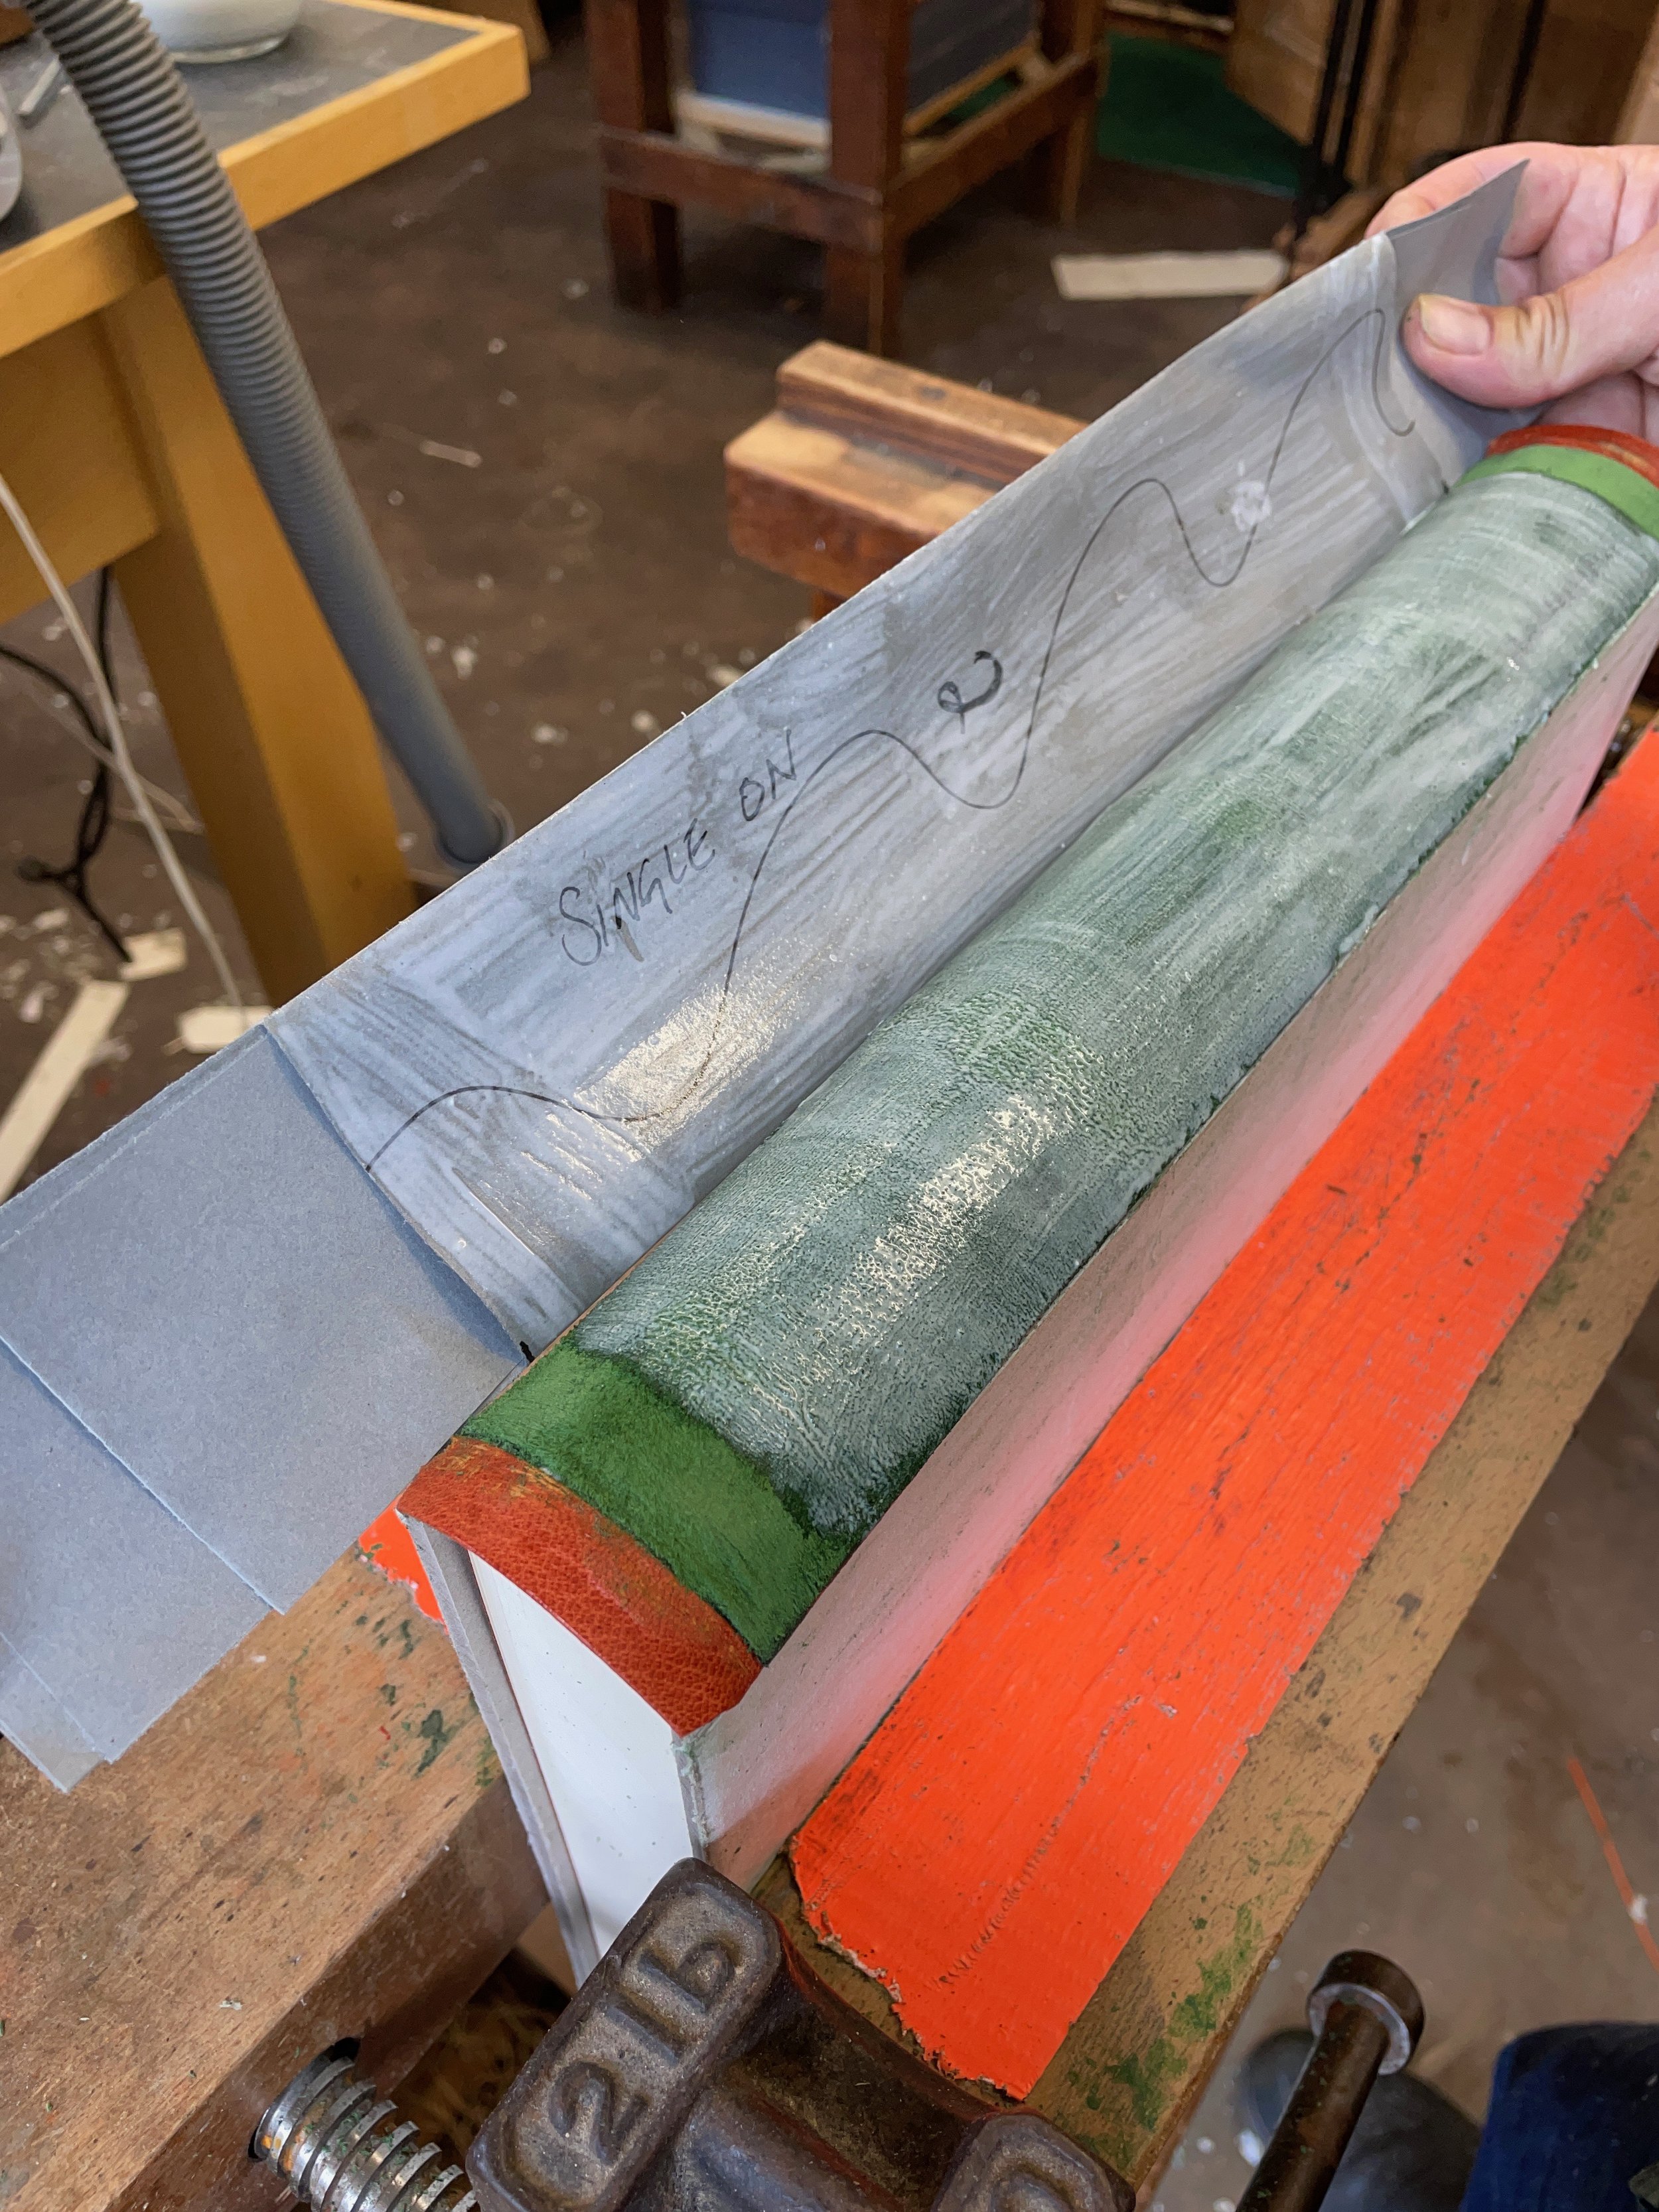
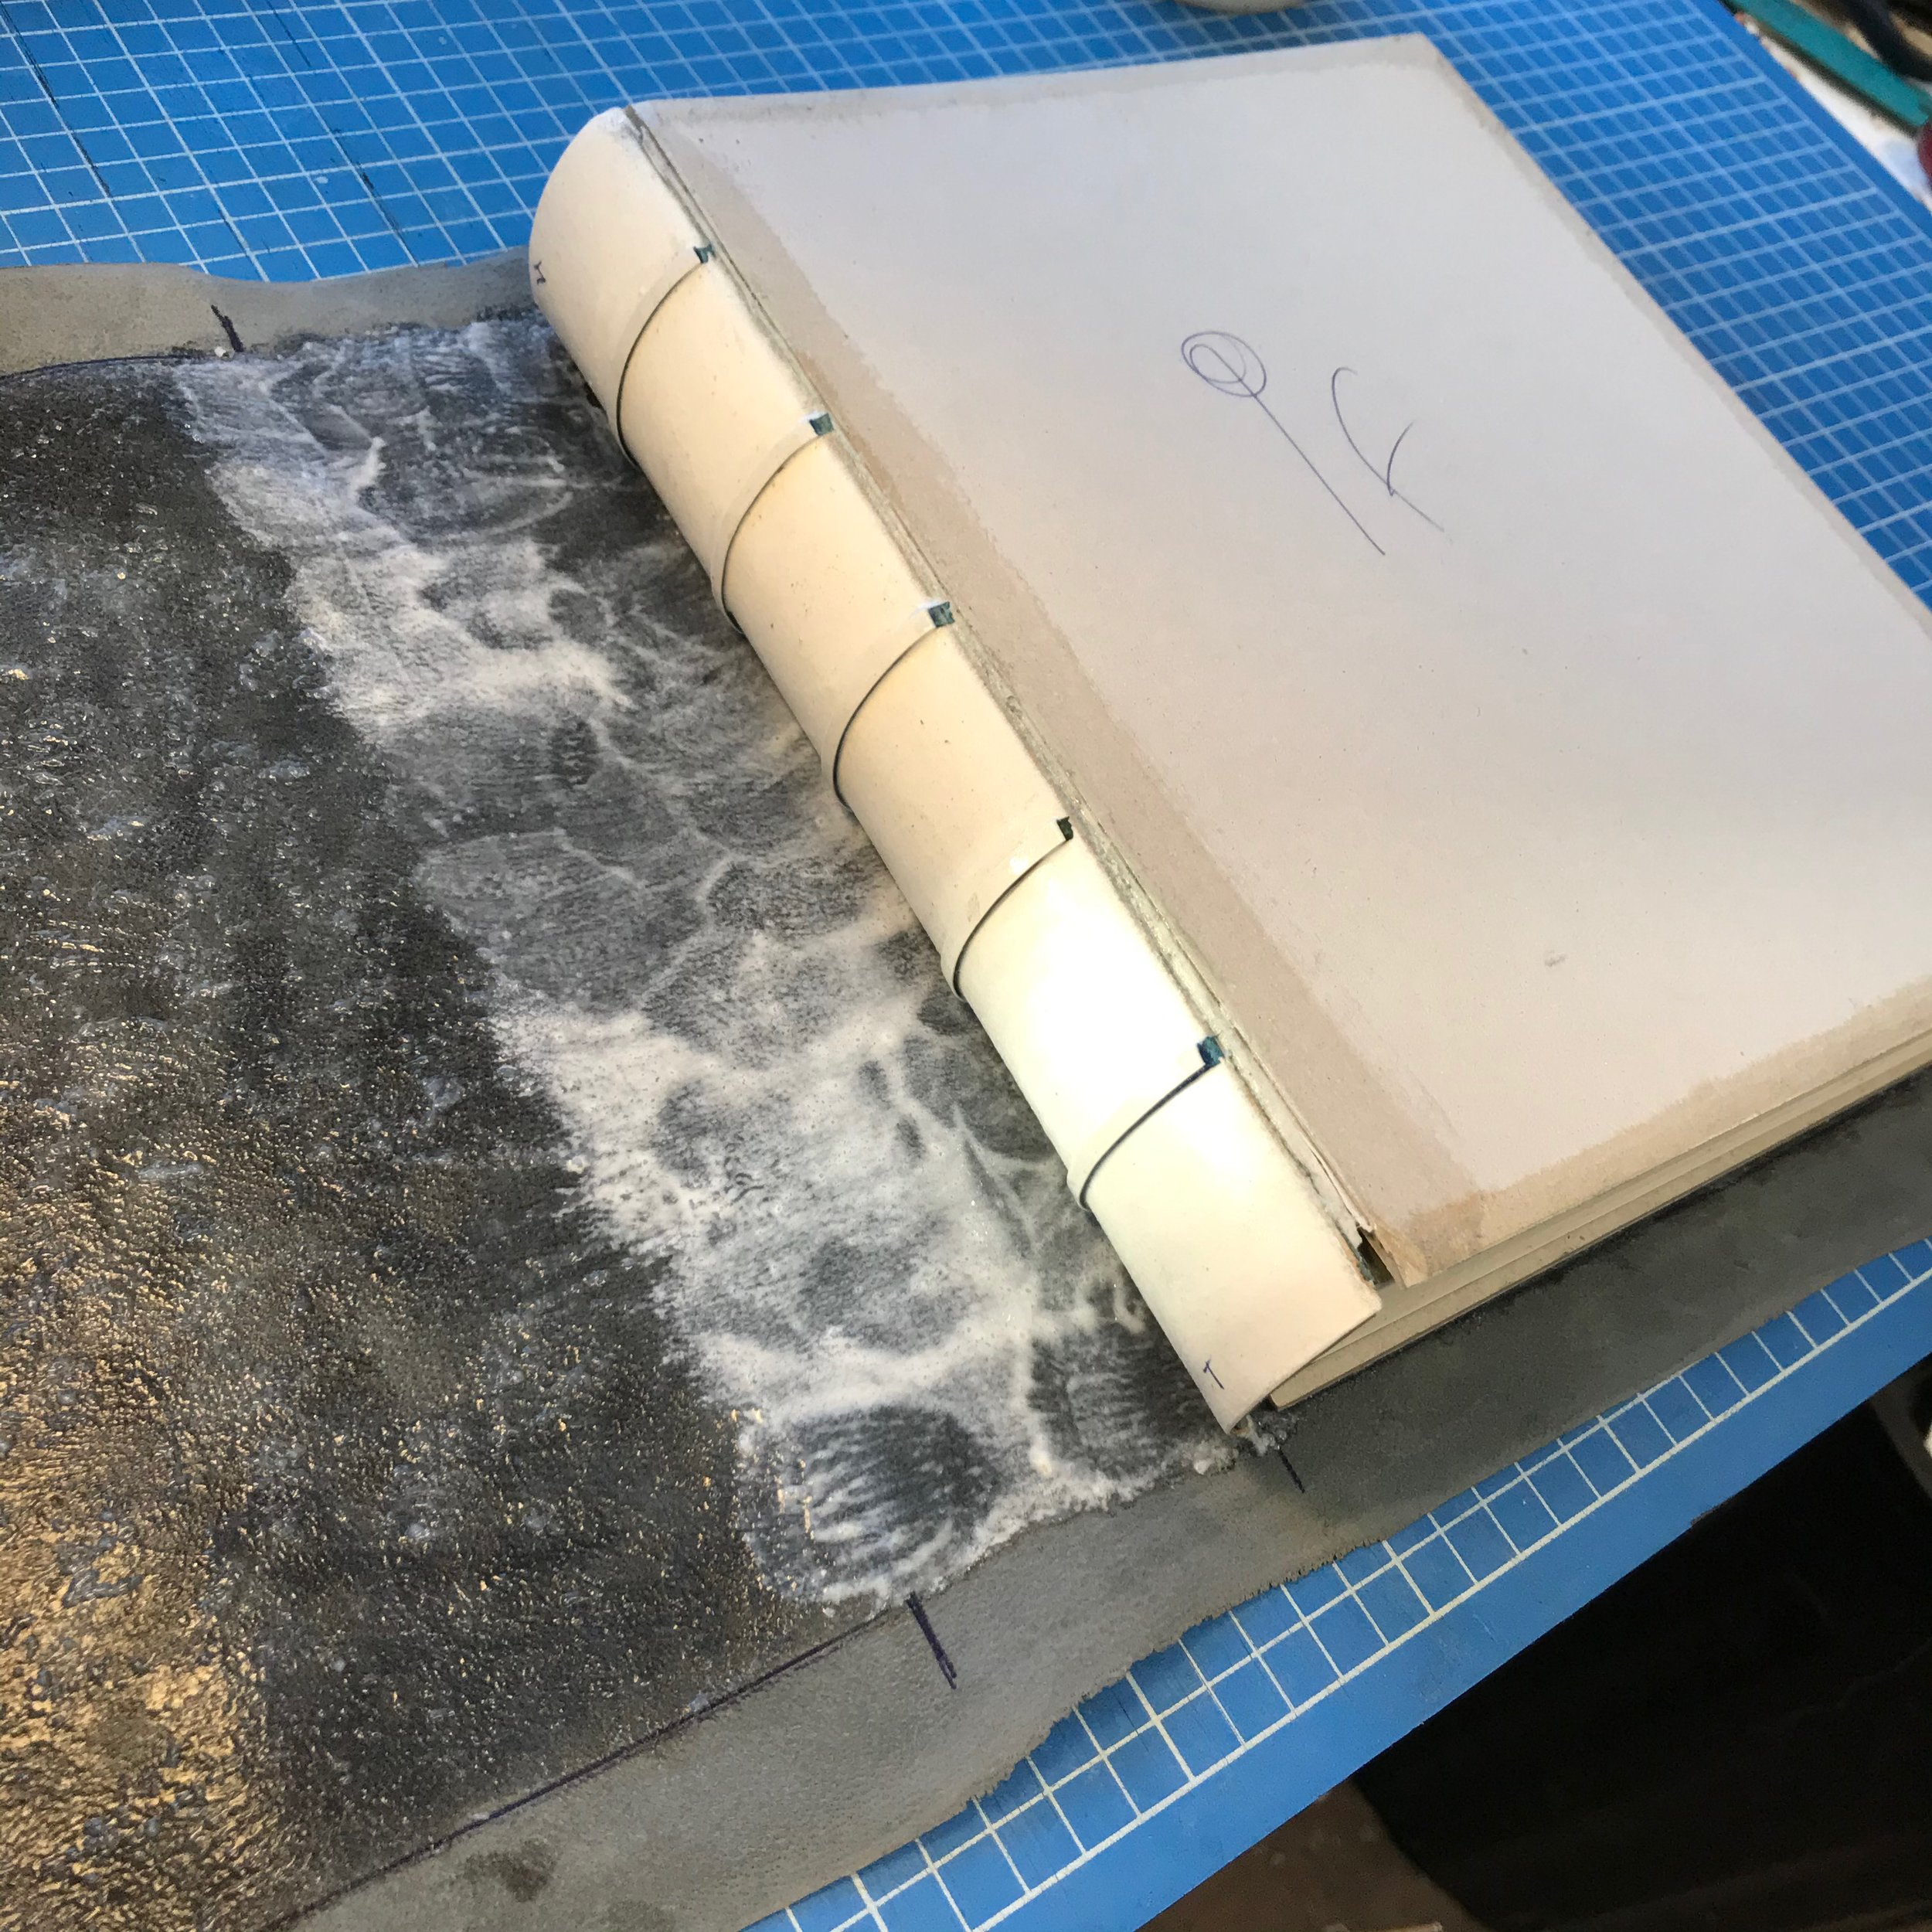
10) Gluing a hollow onto the spine

11) Chamfering the boards

12) Paring the leather
13) Pasting out the leather
14) Glued leather ready to cover

15) Turning in at the tail

16) Forming a corner

17) Sharpening up raised bands with band nippers
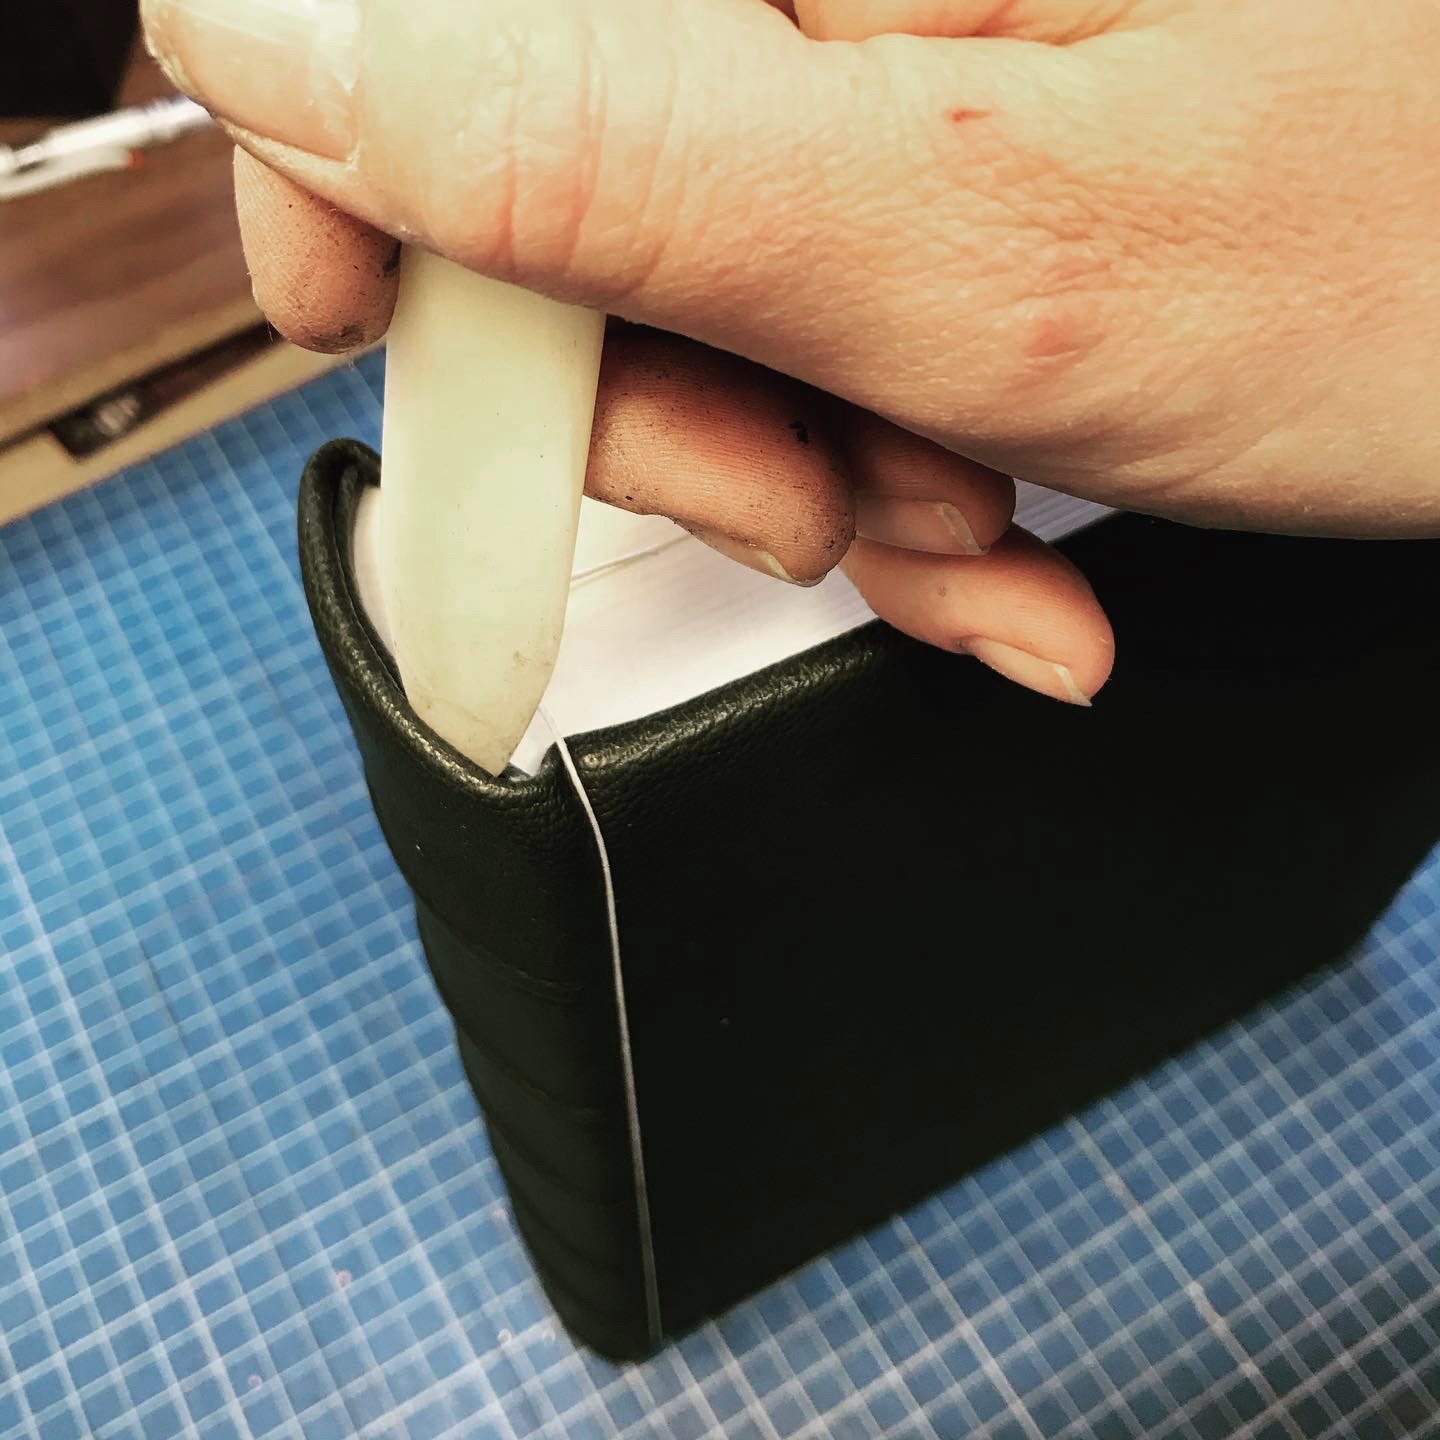
18) Forming the head cap with a bone folder

19) Edge paring the leather joint
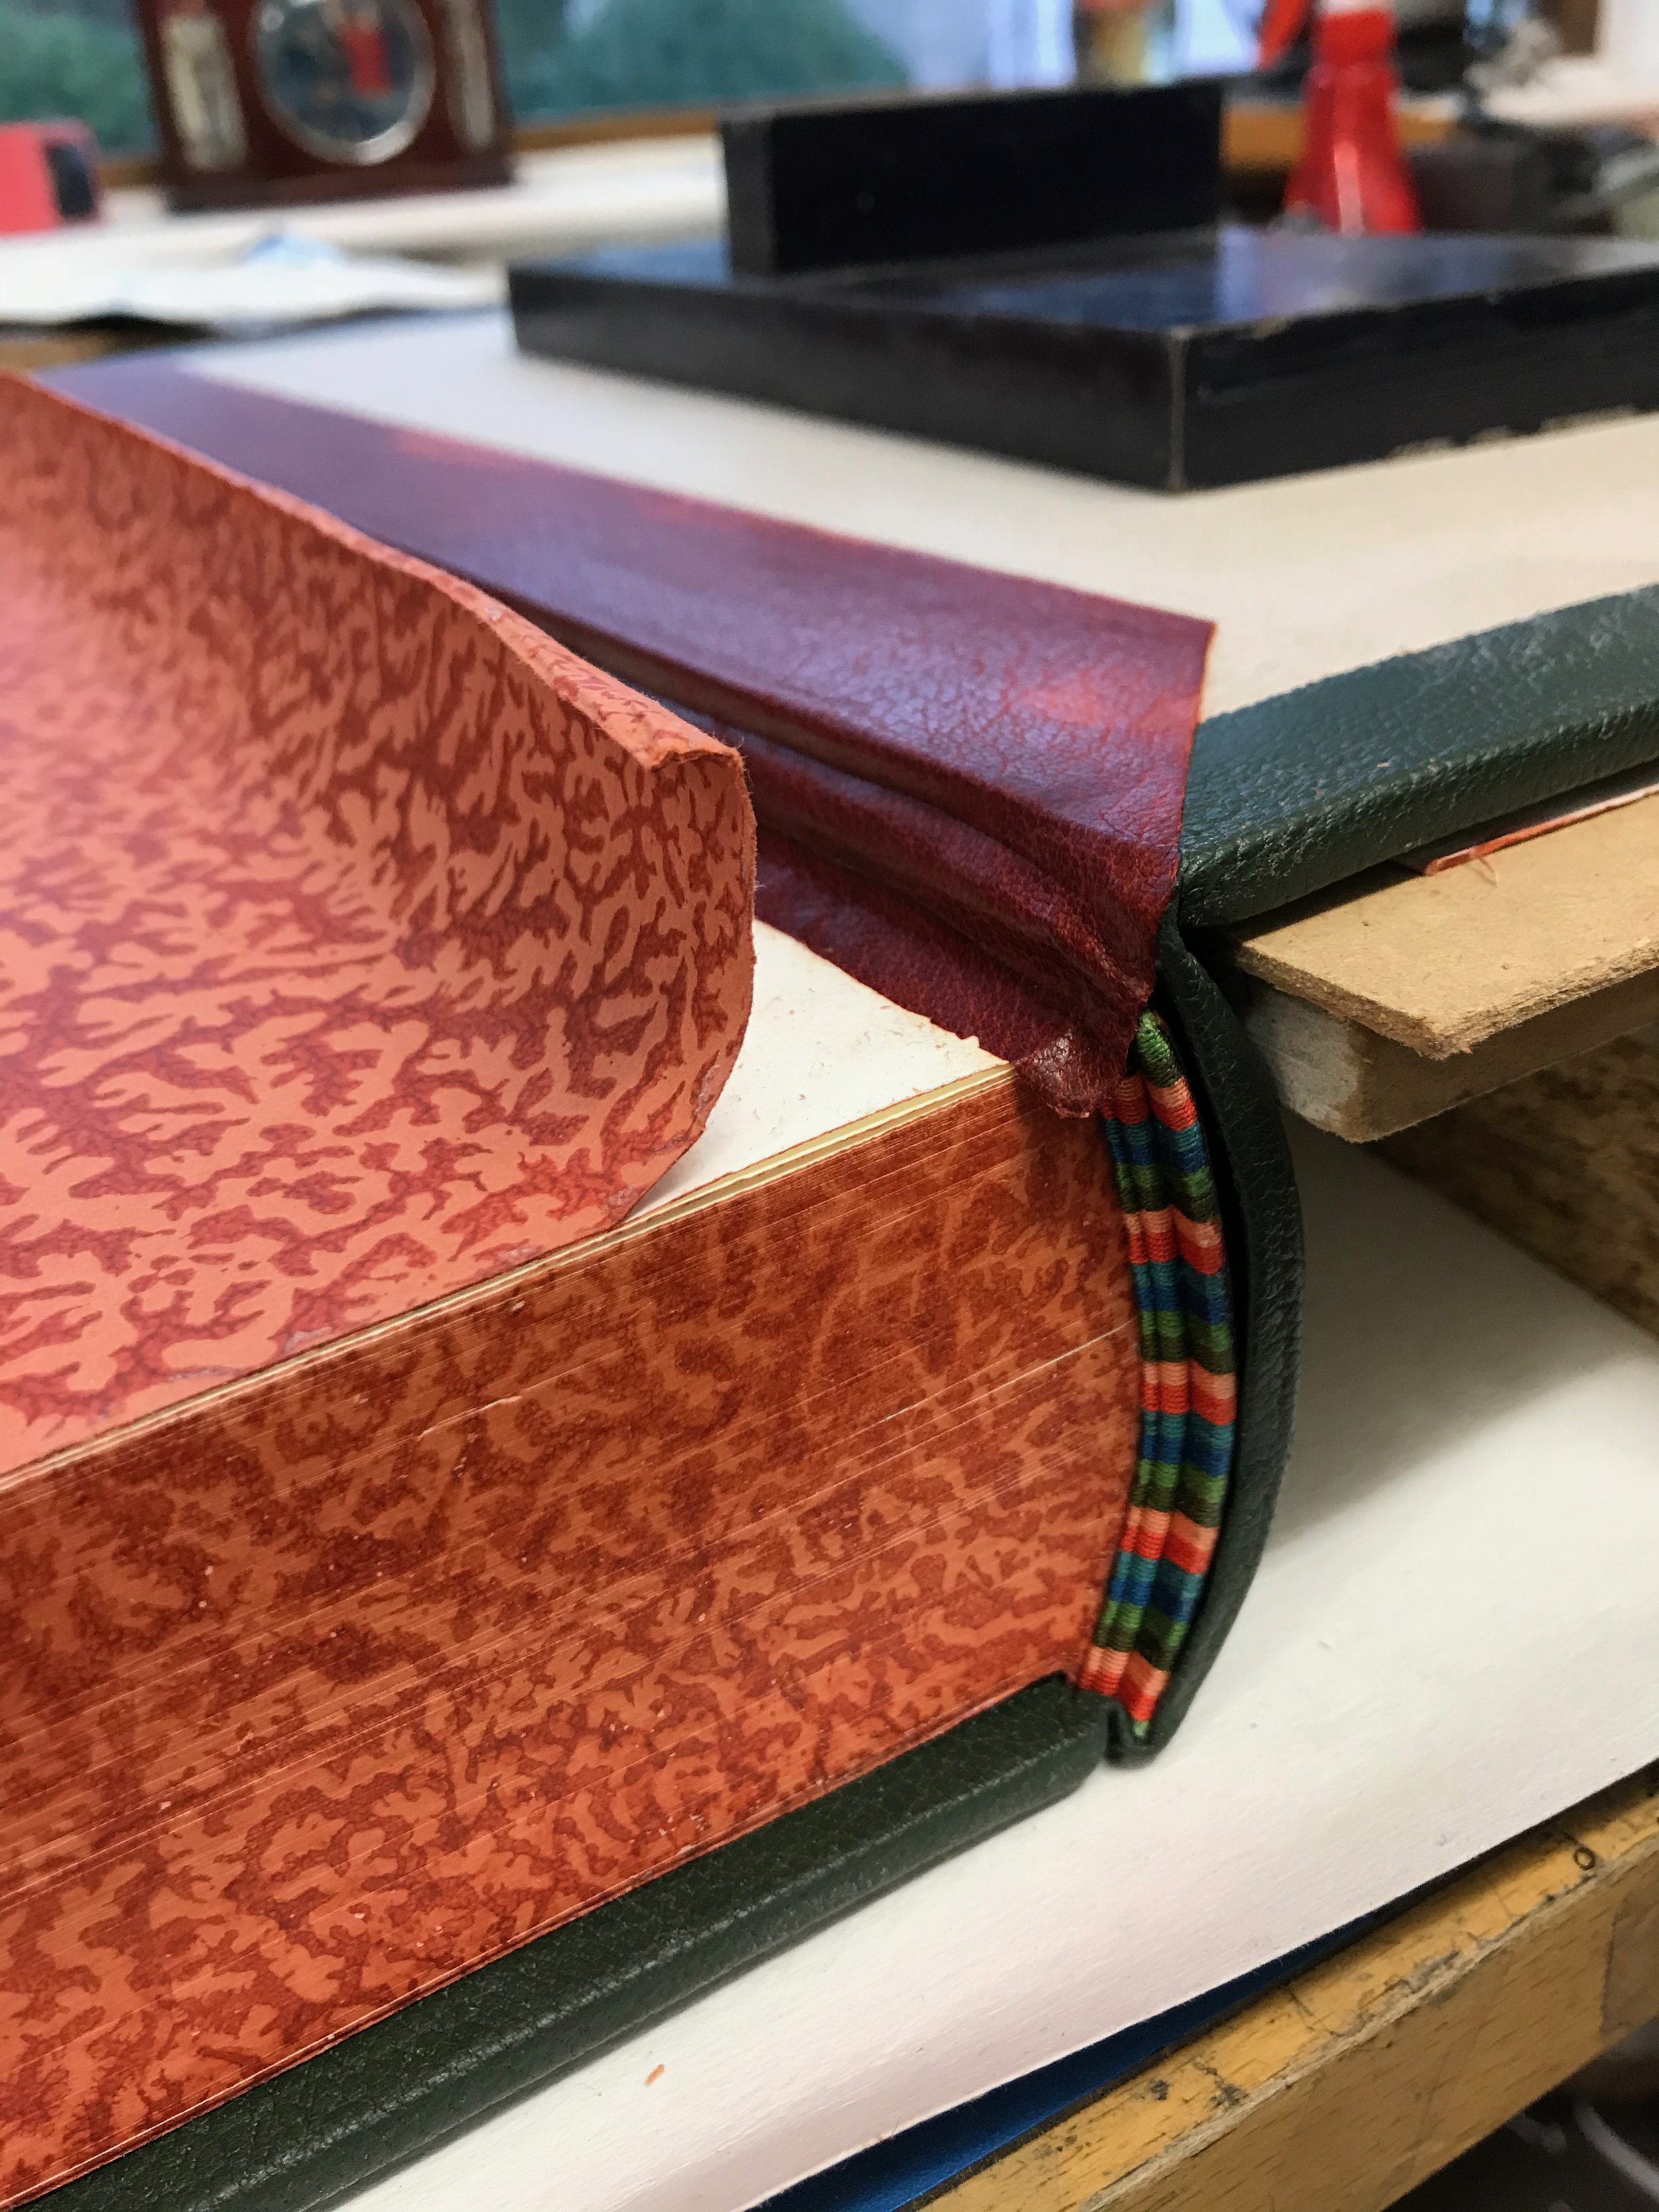
20) Putting down the leather joint

21) Trimming the leather joint at the turn-in

22) Putting down a leather doublure
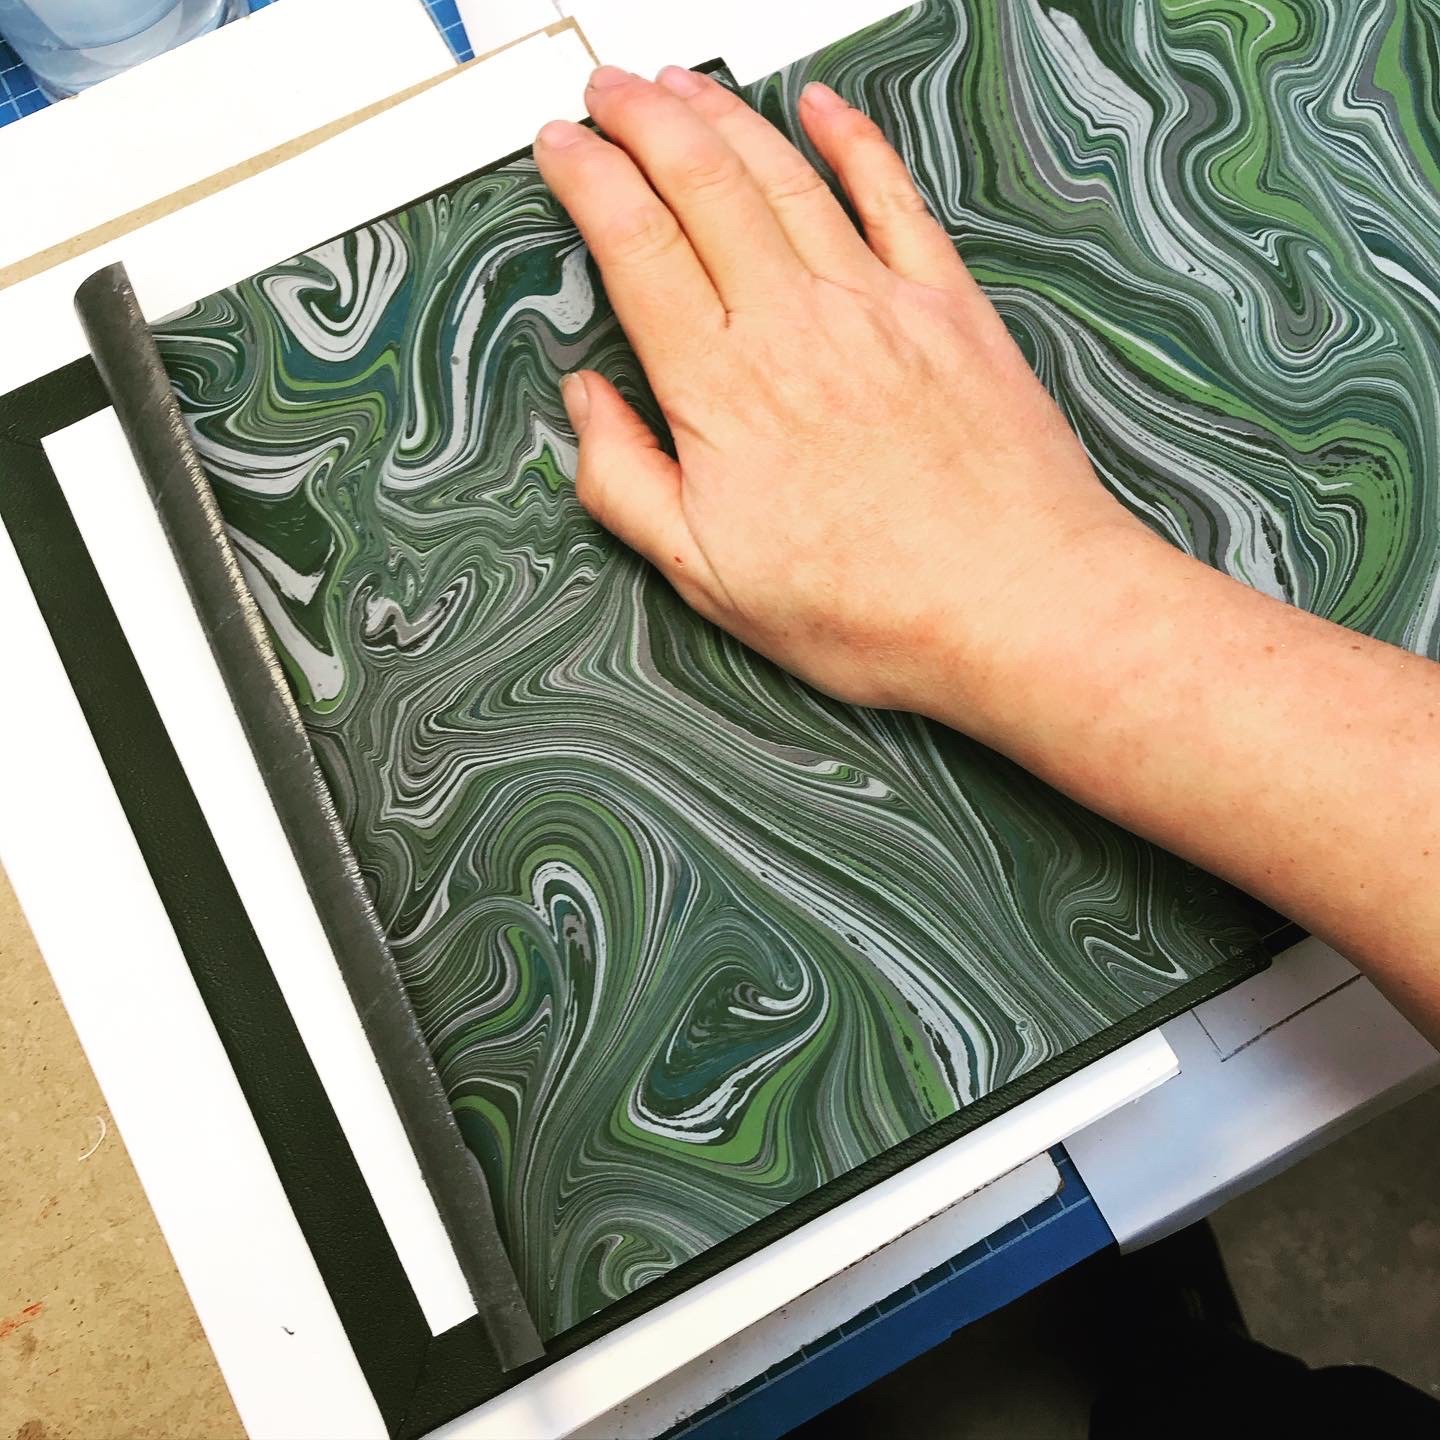
23) Putting down a pastedown marbled endpaper
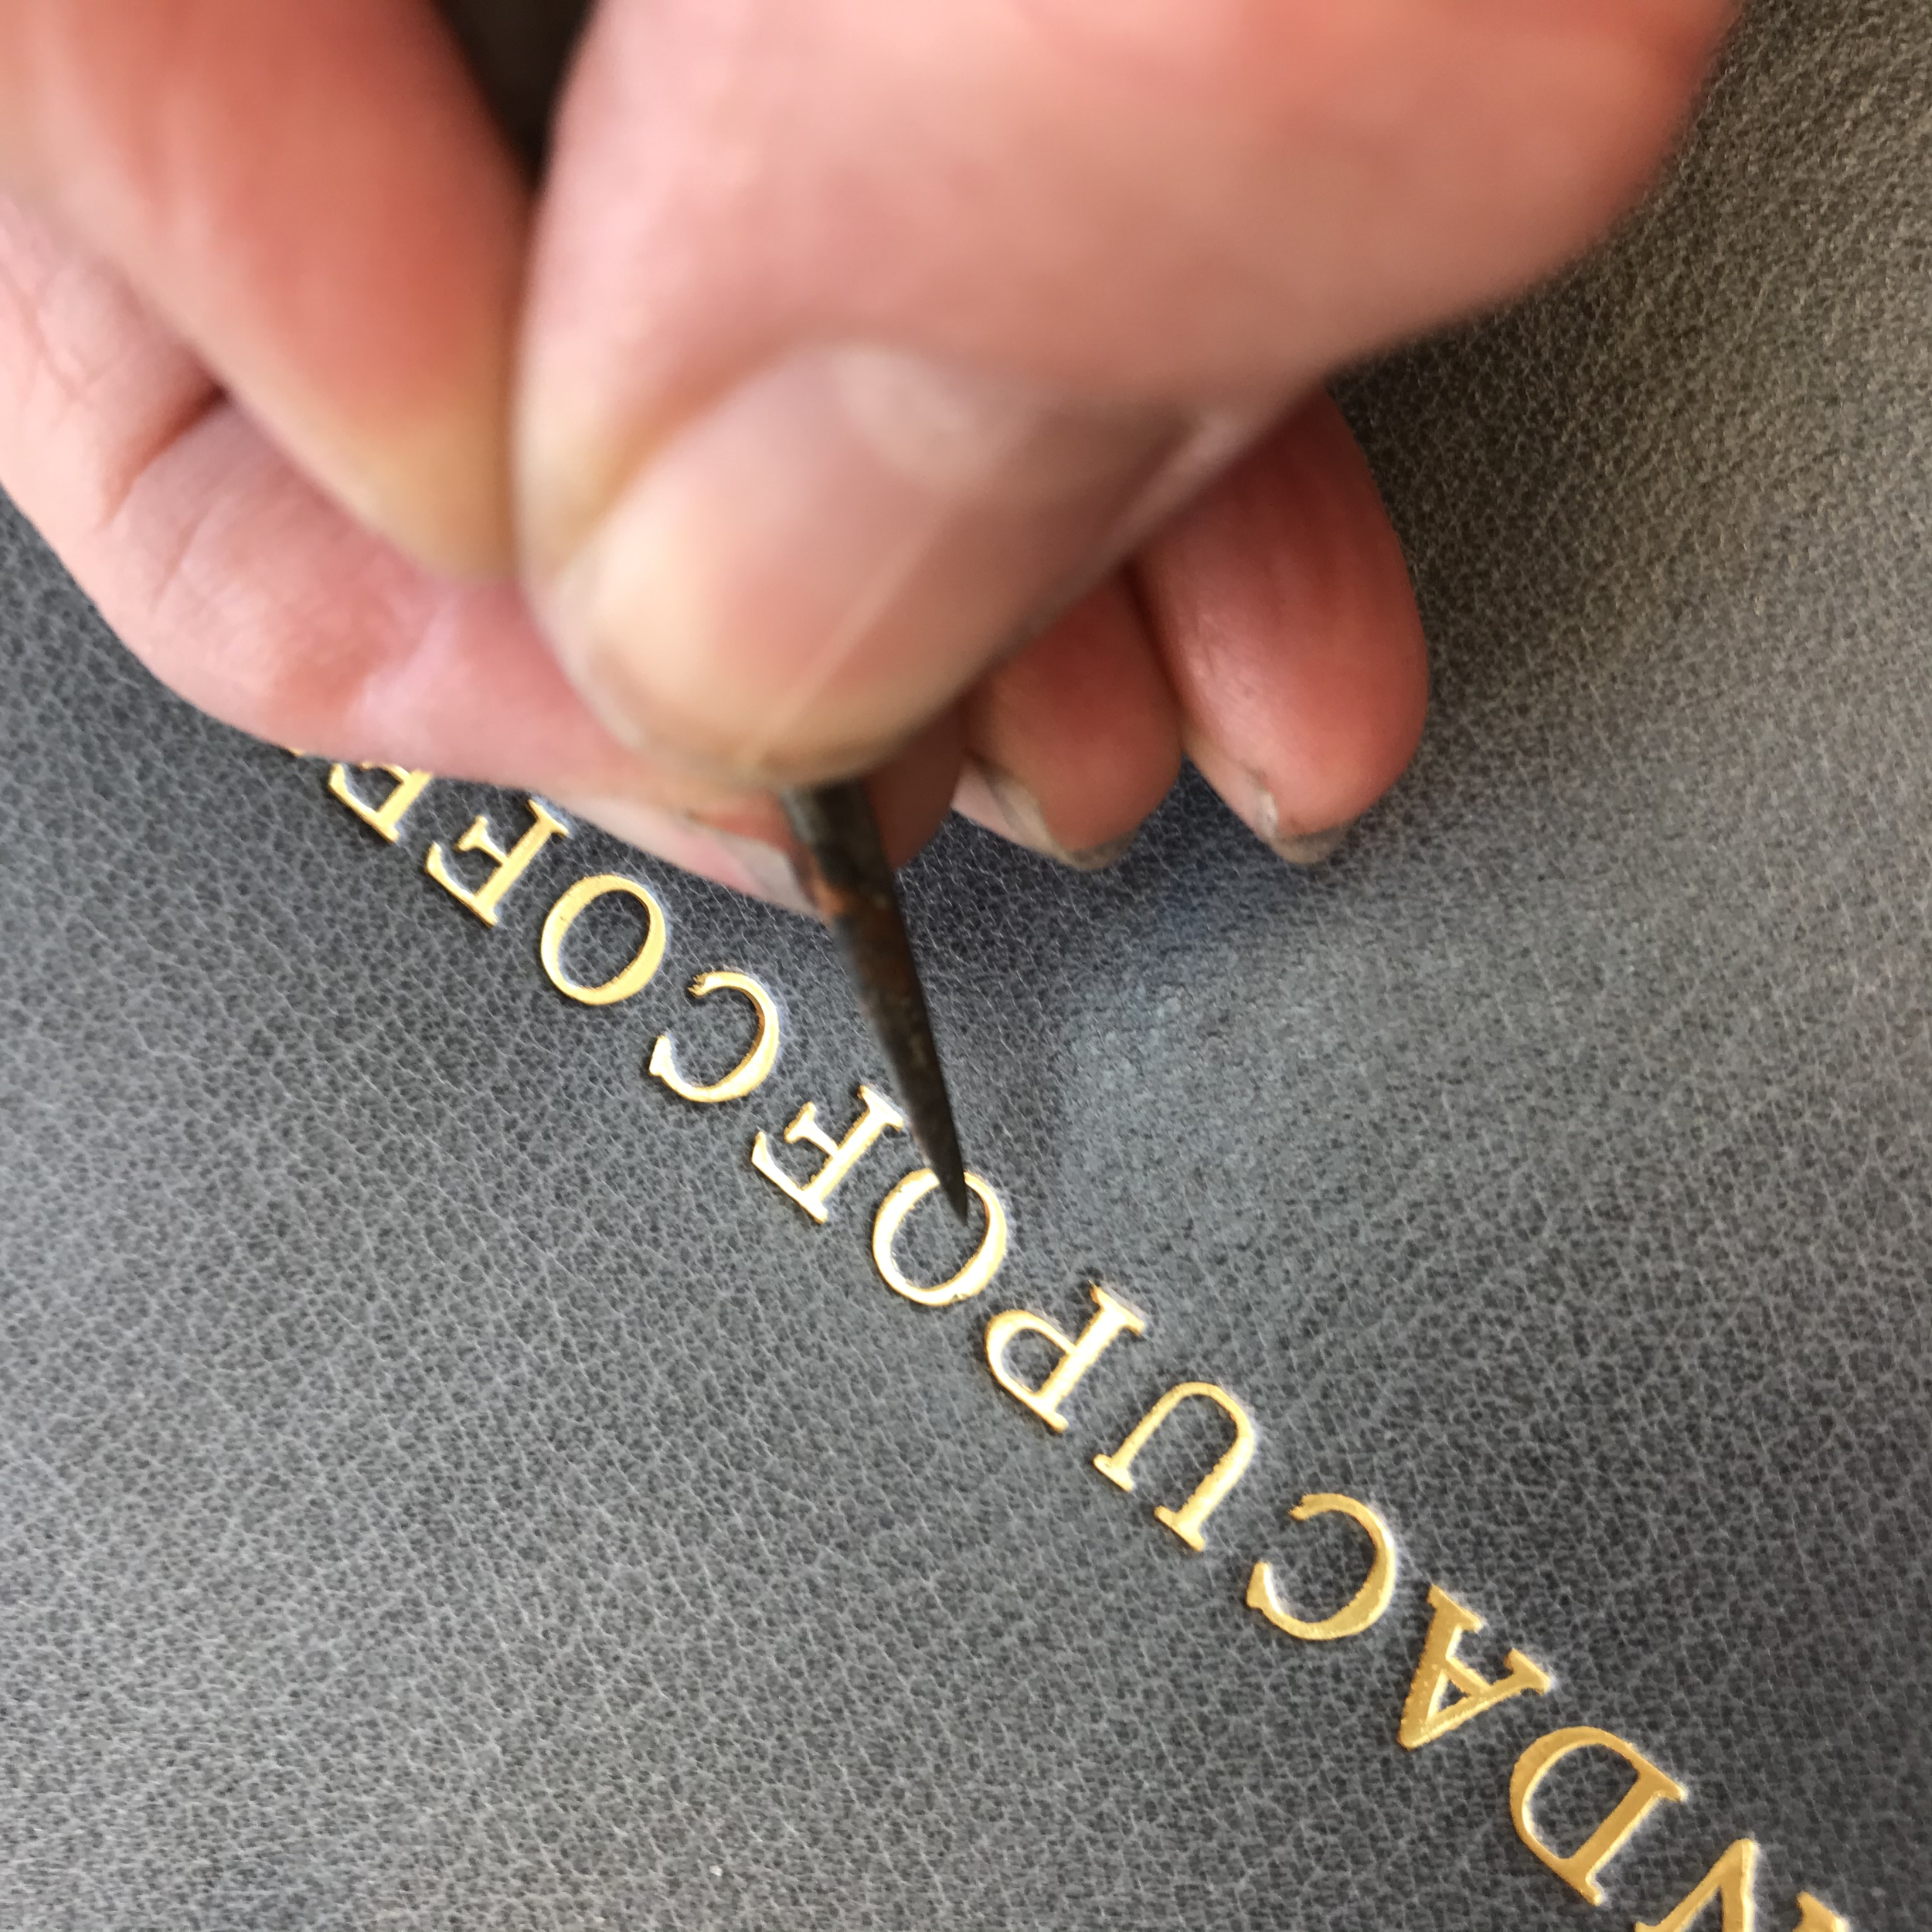
24) Cleaning out hand tooled lettering

25) Cleaning off a backpared onlay
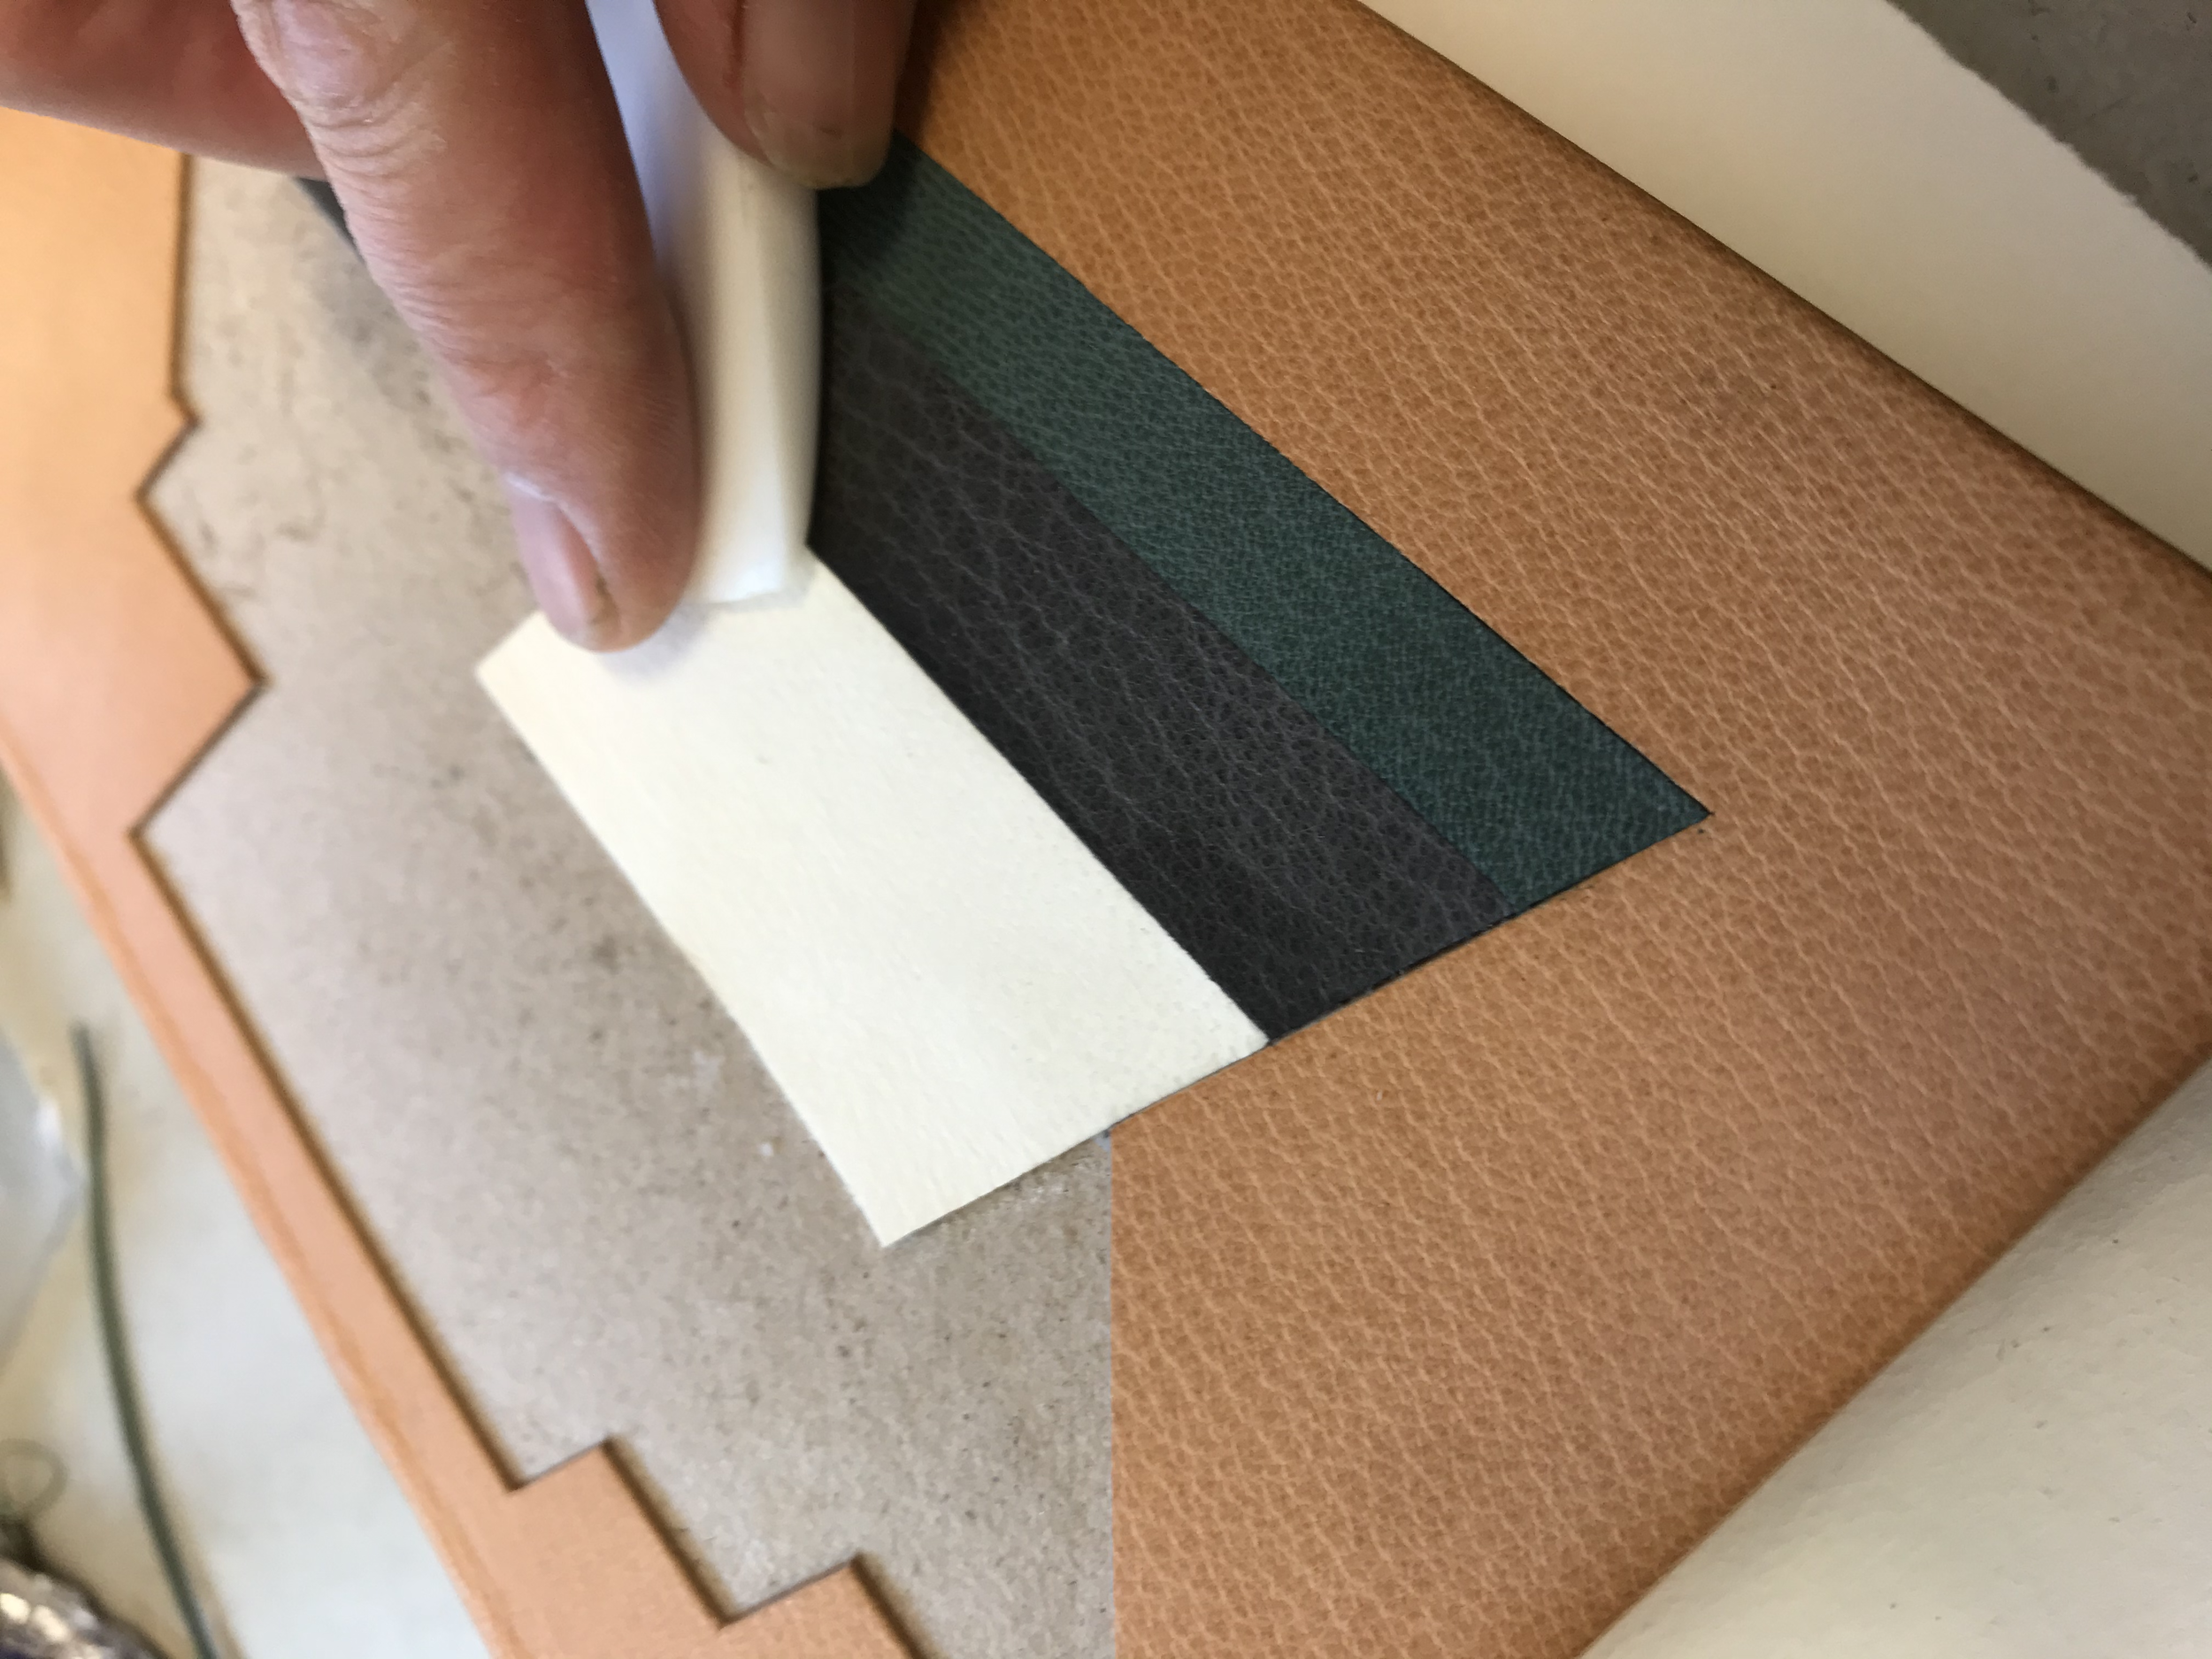
25) Building up a mosaic of leather inlays